 Share
ShareSuspension training rocks. I bet you’ve seen TRX at the gym and it’s a fun way to spice up your training…
The cool thing is you can take this gadget ANYWHERE. Even to outback Australia where my folks live – I think they just got the Internet there too… 😉
As long you can find a solid anchor point to tie it up, you’re good to go.
But if you’re doing it all wrong, you won’t get the maximum benefits and end up injured – and looking like a silly goose.
5 mistakes with Suspension Training
1. You think it’s only for fat loss workouts
The coolest thing about the TRX is you can use for added support to increase your range of motion with those tricky bodyweight exercises, like the Pistol Squat or Bodyweight Rows.
You see, TRX is NOT just another fat loss infomercial gadget. You can build strength with these bodyweight moves, and improve your mobility and stability.
Plus, you can add a new level of difficulty to the old-school favorites, like the burpee or push up. Wait until you try the TRX Single Leg Burpee or Atomic Push Up.
In fact, NFL football stars like Drew Brees use TRX for strength and conditioning (sorry, he’s the only one I know apart from the guys at the Giants). So don’t think it’s easy, and only for beginners.
2. You forget to engage your abdominals
TRX is all about core activation. If you don’t engage your abs in EVERY single exercise, you will lose the main benefits and not get results.
Sure, it might be tough to get the hang of it. But whether you’re beginner or advanced, you need to apply the “mind to muscle” principle and think about the muscles you’re engaging.
Every single exercise forces your body to make it a hard-core abs move. So when you’re doing a suspension exercise for your legs, back, chest or arms, your abs are working as hard as they do in normal crunches. (Just another reason to ditch normal crunches, too.)
3. Excessive Slack in the TRX Straps
This is a technical error I see a lot at gyms.
If there is one rule with the TRX, it’s that there shouldn’t be any slack on the straps no matter what exercise you’re doing.
Once you see slack, it means your body has become disengaged and you’re no longer consciously bringing yourself through the movement anymore, even if just for a moment.
4. Earn Your Progression
Day one is not the right time to attempt the craziest TRX exercises seen on planet earth. This is not an audition for the circus.
You must earn your progression – with every single exercise. Check your ego at the door and start with the most regressed version of the movement, no matter what your level of expertise.
The final word: make sure you master the basic moves before trying to do the more obscure TRX exercises.
5. You think it’s for “young” people
One morning earlier this year, my new client pulled out this line –
“Kate, I think this TRX thing is for young people like you…”
Bah! <= that’s Australian for “Are you kidding me?!”
Remember, every exercise can be modified. You can change your positioning under the anchor point to make it more challenging, or easier depending on your fitness level.
Believe it or not, I have a 73 year old client who loves rocking workout on the TRX. His mobility has improved out of sight, and no longer suffers from episodes of crippling back pain. The bottom line?
Don’t be afraid to try something different, no matter what your age.
3 TRX Warm Up Exercises
Here are 3 TRX warm up exercises you can use today…. and it’s waayyyyy better than jumping on the treadmill or bike for 5 minutes!
1. Squat to row
2. Lateral Lunges
3. Chest Stretch with Alternating Lunge variations
Do 15-20 reps of each move for one circuit.
Now you’re warmed up, try this conditioning circuit…
TRX Accelerator
You only need a TRX and a timing device. Do this at the end of your workout, or on your off-day.
Warning: if you can’t do a regular burpee, you have no business trying this. Make sure you can do at least 15 burpees with perfect form before progressing to this TRX move. It’s not for absolute beginners. (Substitution: You can try mountain climbers instead)
A) TRX One Legged Burpees x 5-7 reps each leg
-rest 45-60 seocnds and repeat for 5 rounds
Trust me. That will be enough. Work your way up to 8-10 reps on each leg.
Here’s how to do the advanced TRX one-legged burpee:
1. The TRX should be set to mid-calf height.
2. Place one foot in the cradle and get centered with the anchor point. Your shoulders should be over your hips.
3. Drive your suspended knee back and lower your hips until your back knee is 2 inches from the floor.
4. Put your hands on the ground, hop your grounded leg straight back into a plank. Hold for 2 seconds and do a pushup.
5. Hop your grounded leg forward and explode up into a jump.
Tips Perfect Form:
– Don’t let your hips drop when you do the push up
– Make sure you hop your leg forward far enough, before going into the jump.
You can make it easier by skipping the push up on the floor and the jump at the top of your lunge. Either way, your entire body will be working and you will be sweating buckets!
That right there is a one exercise conditioning circuit that will help you accelerate fat loss, in just minutes.
Enjoy it!
KV
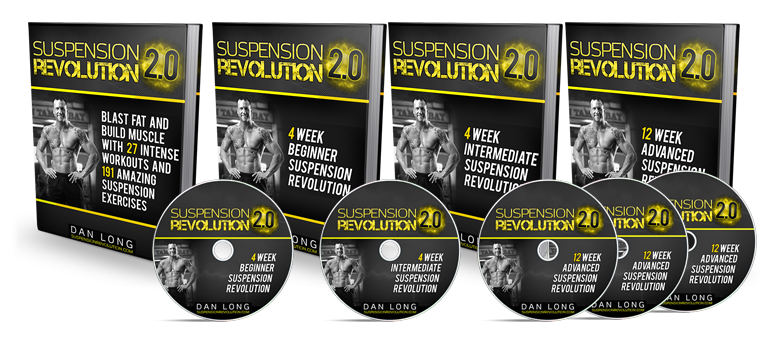
PS. If you want more UNIQUE, challenging TRX workouts, this is your last chance to pick up Dan Long’s Suspension Training Revolution. His follow-along videos totally rock!
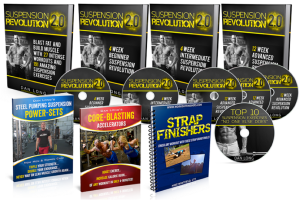
==> The Suspension Revolution Follow Along Workout Videos