


 Share
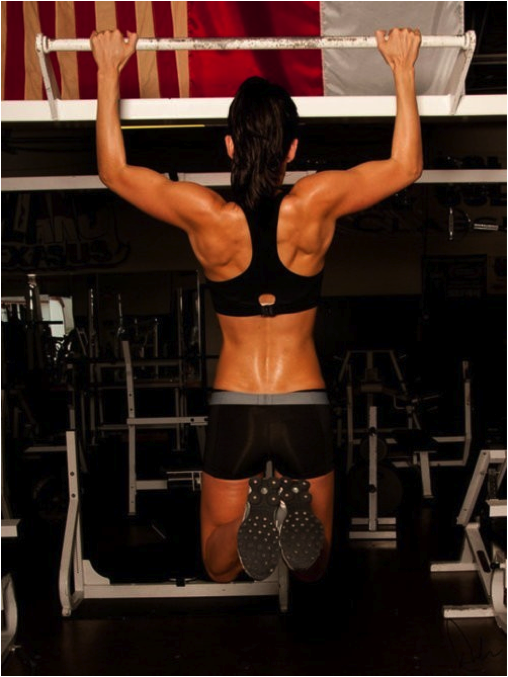
ShareThere’s no doubt the pull up is one of the best exercises for training your upper body.
But let’s be honest….
It’s really hard.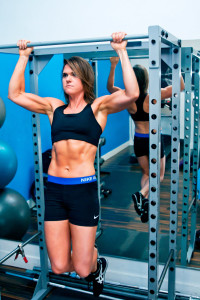
And it’s also a rare sight to see a woman busting out multiple reps and sets at the gym – unless you’re working out with me. 😉
It is an awesome measure of strength relative to your bodyweight. Not only is it tough, but the ultimate self-limiting exercise and the best one for training your back and biceps.
But here’s the thing…
When you start a new strength program, traditionally the first back muscle targeted is the latissmus dorsi in a seated position.
(that’s the muscle you hit using the lat pulldown machine.)
Don’t you think we already sit enough these days?
“Yes KV” 😉
So why sit during your workout?
The standard “go-to moves” for training the upper body pull movement involve sitting down, which doesn’t help you develop the core strength to perfect your pull ups.
And let’s make this clear: pulling is not all about endless pull ups and chin ups.
Yes, it’s a super compound exercise and has great value in a program, but you need to pull vertically and horizontally. Seated cable rows and lat pulldown are not enough.
Unfortunately, most programs don’t include horizontal rows and the posture speaks for itself!
Over time, this ugly posture has evolved and is primarily a result of our daily lifestyle. I call it “computer syndrome” – your shoulders are so rounded (from sitting slumped at the computer) you could be mistaken for the hunchback of Notre Dame. Not a sexy look.
“How can I fix my ugly posture, KV?”
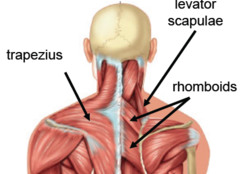
To avoid this epidemic, it is critical to incorporate exercises that focus on the rhomboids and trapezius, particularly the middle and lower fibers. These middle and lower traps help to pull the shoulder blade down and back, opening up your chest and improving your appearance.
The Right Ratio of Exercises
Use an exercise ratio of 3:1 (pull exercise:push exercise) to correct rounded shoulder posture.
For example, for every one “push” exercise in a program, you program three “pull” exercises. Makes sense, right?
Here’s a 3 stage exercise progression formula you need to use:
1. Shoulder mobility (improving your range of motion)
2. Scapular stability (stabilizing the shoulder blade)
3. Strengthening your pull with the most effective exercises.
HERE’S A CHALLENGE FOR YOU
Today’s physical challenge is tough. How many chin ups can you do? (That’s with your palms facing you)
I suspect you don’t have a chin-up bar in your house. No worries. I don’t have one either. Unfortunately it just doesn’t go with the decoration in my apartment. 😉
If you know it’s zero chin ups for you, then let’s set a goal to get you to the chin-up bar.
I used to score zero too. Even if you can do numerous reps of chin ups, now is a chance to perfect your form. I suggest you start at Level One and progress your way to the chin-up bar.
Here’s another test you can do is much less strenuous. The Shoulder Mobility Reach Test assesses the range of motion in your shoulder, your postural control and core stability.
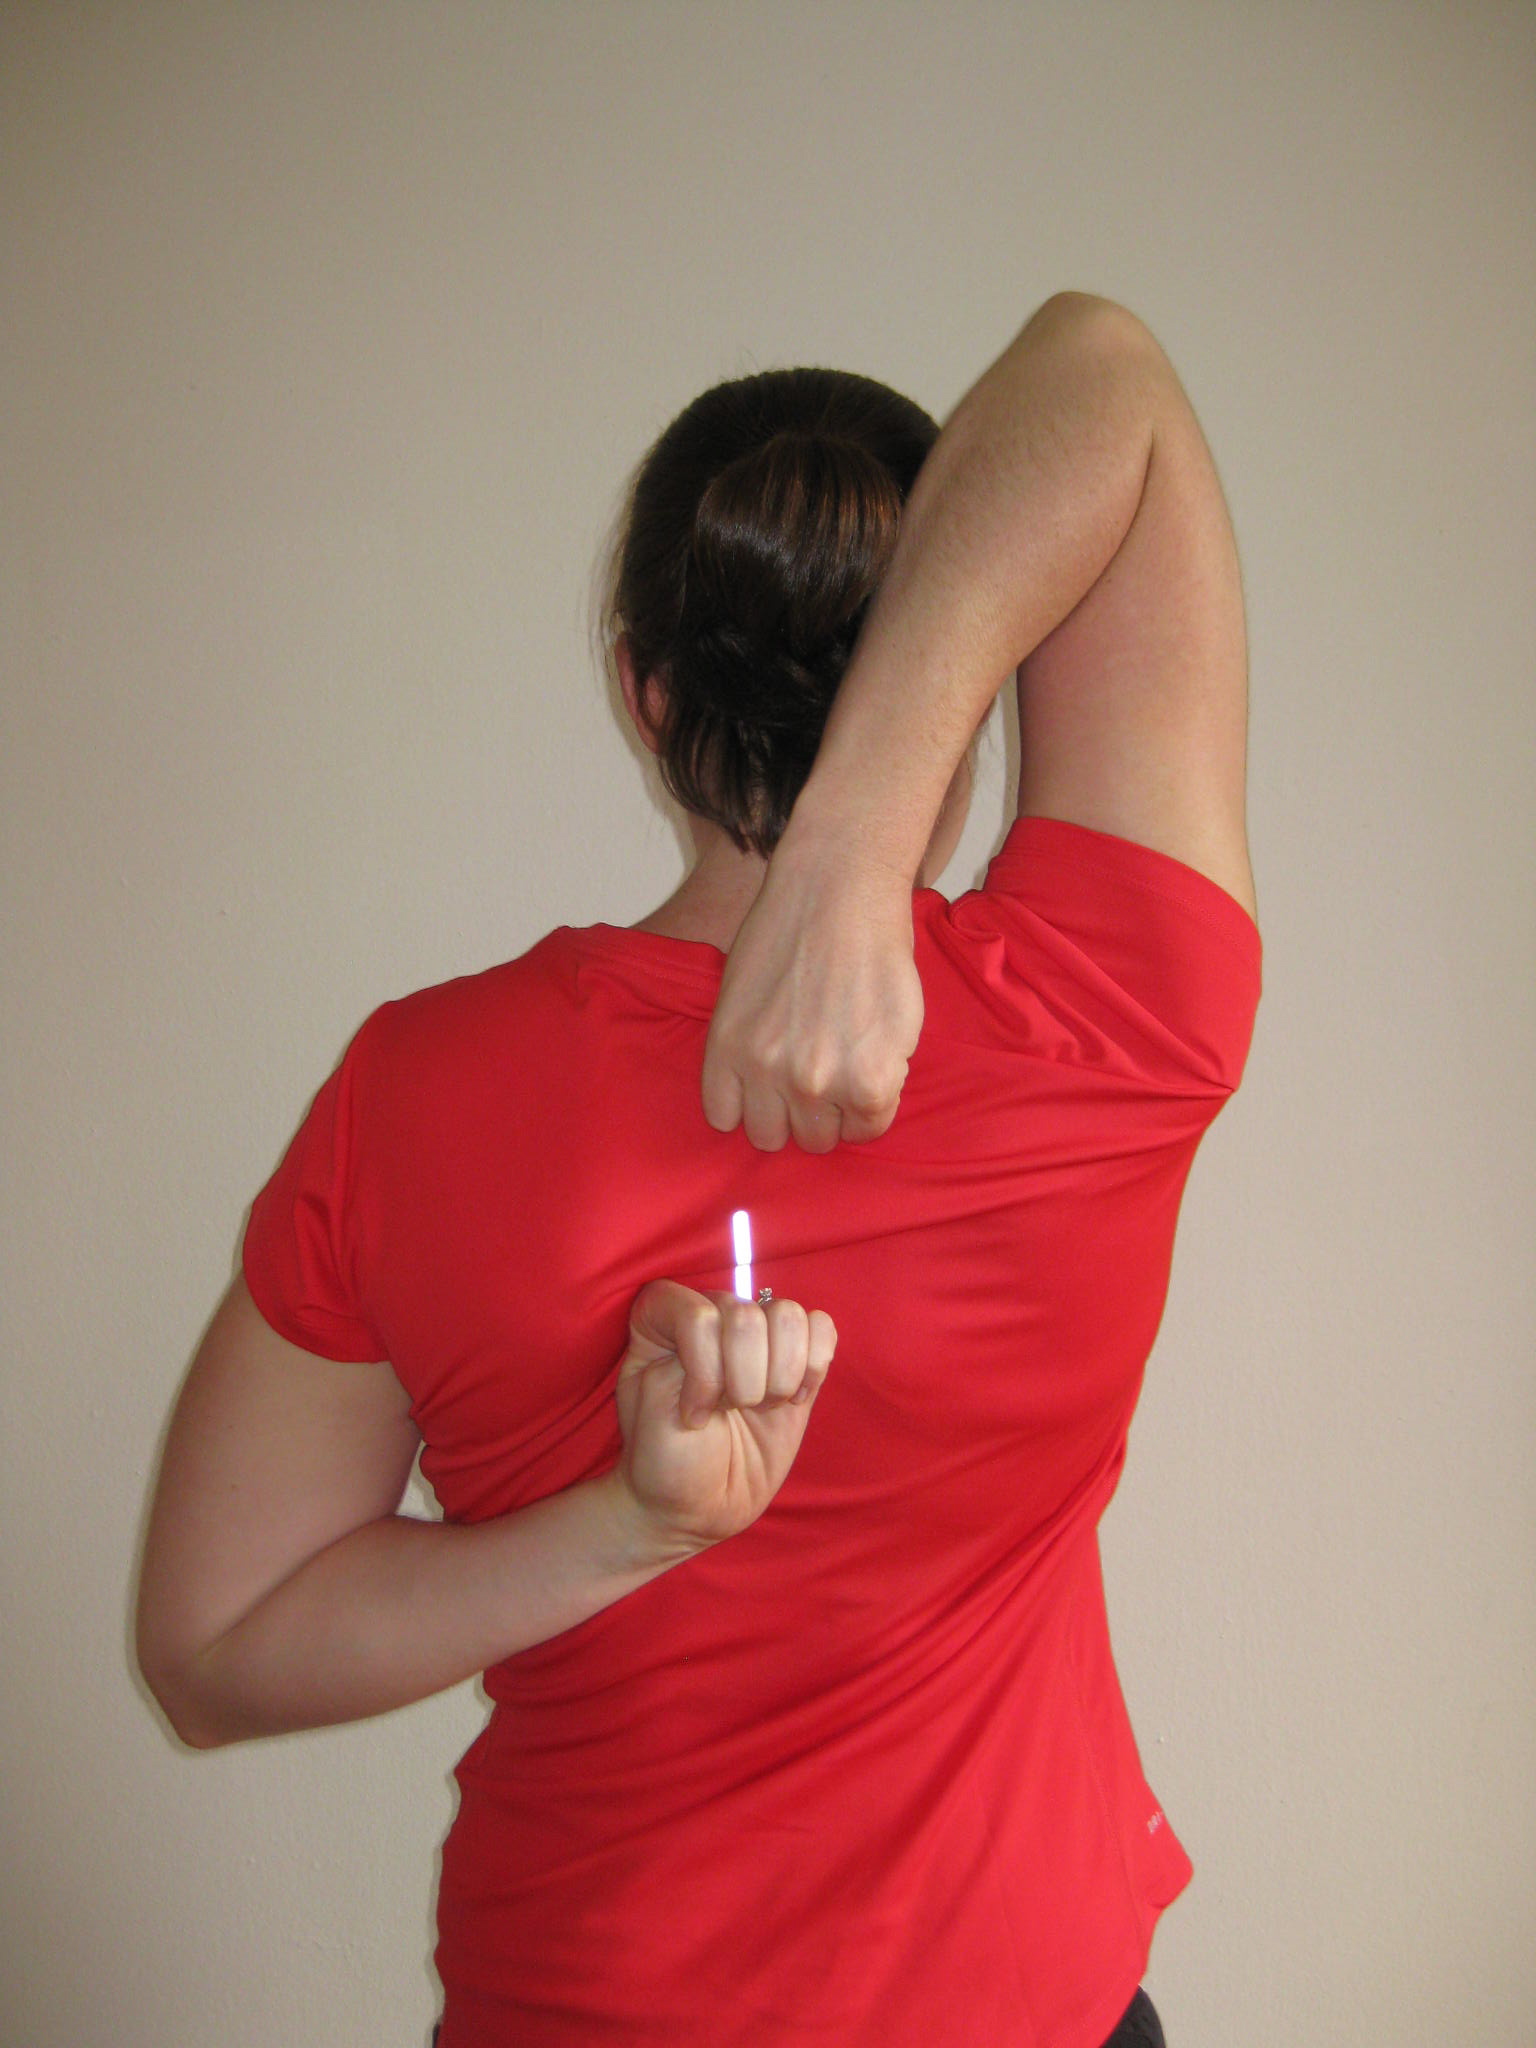
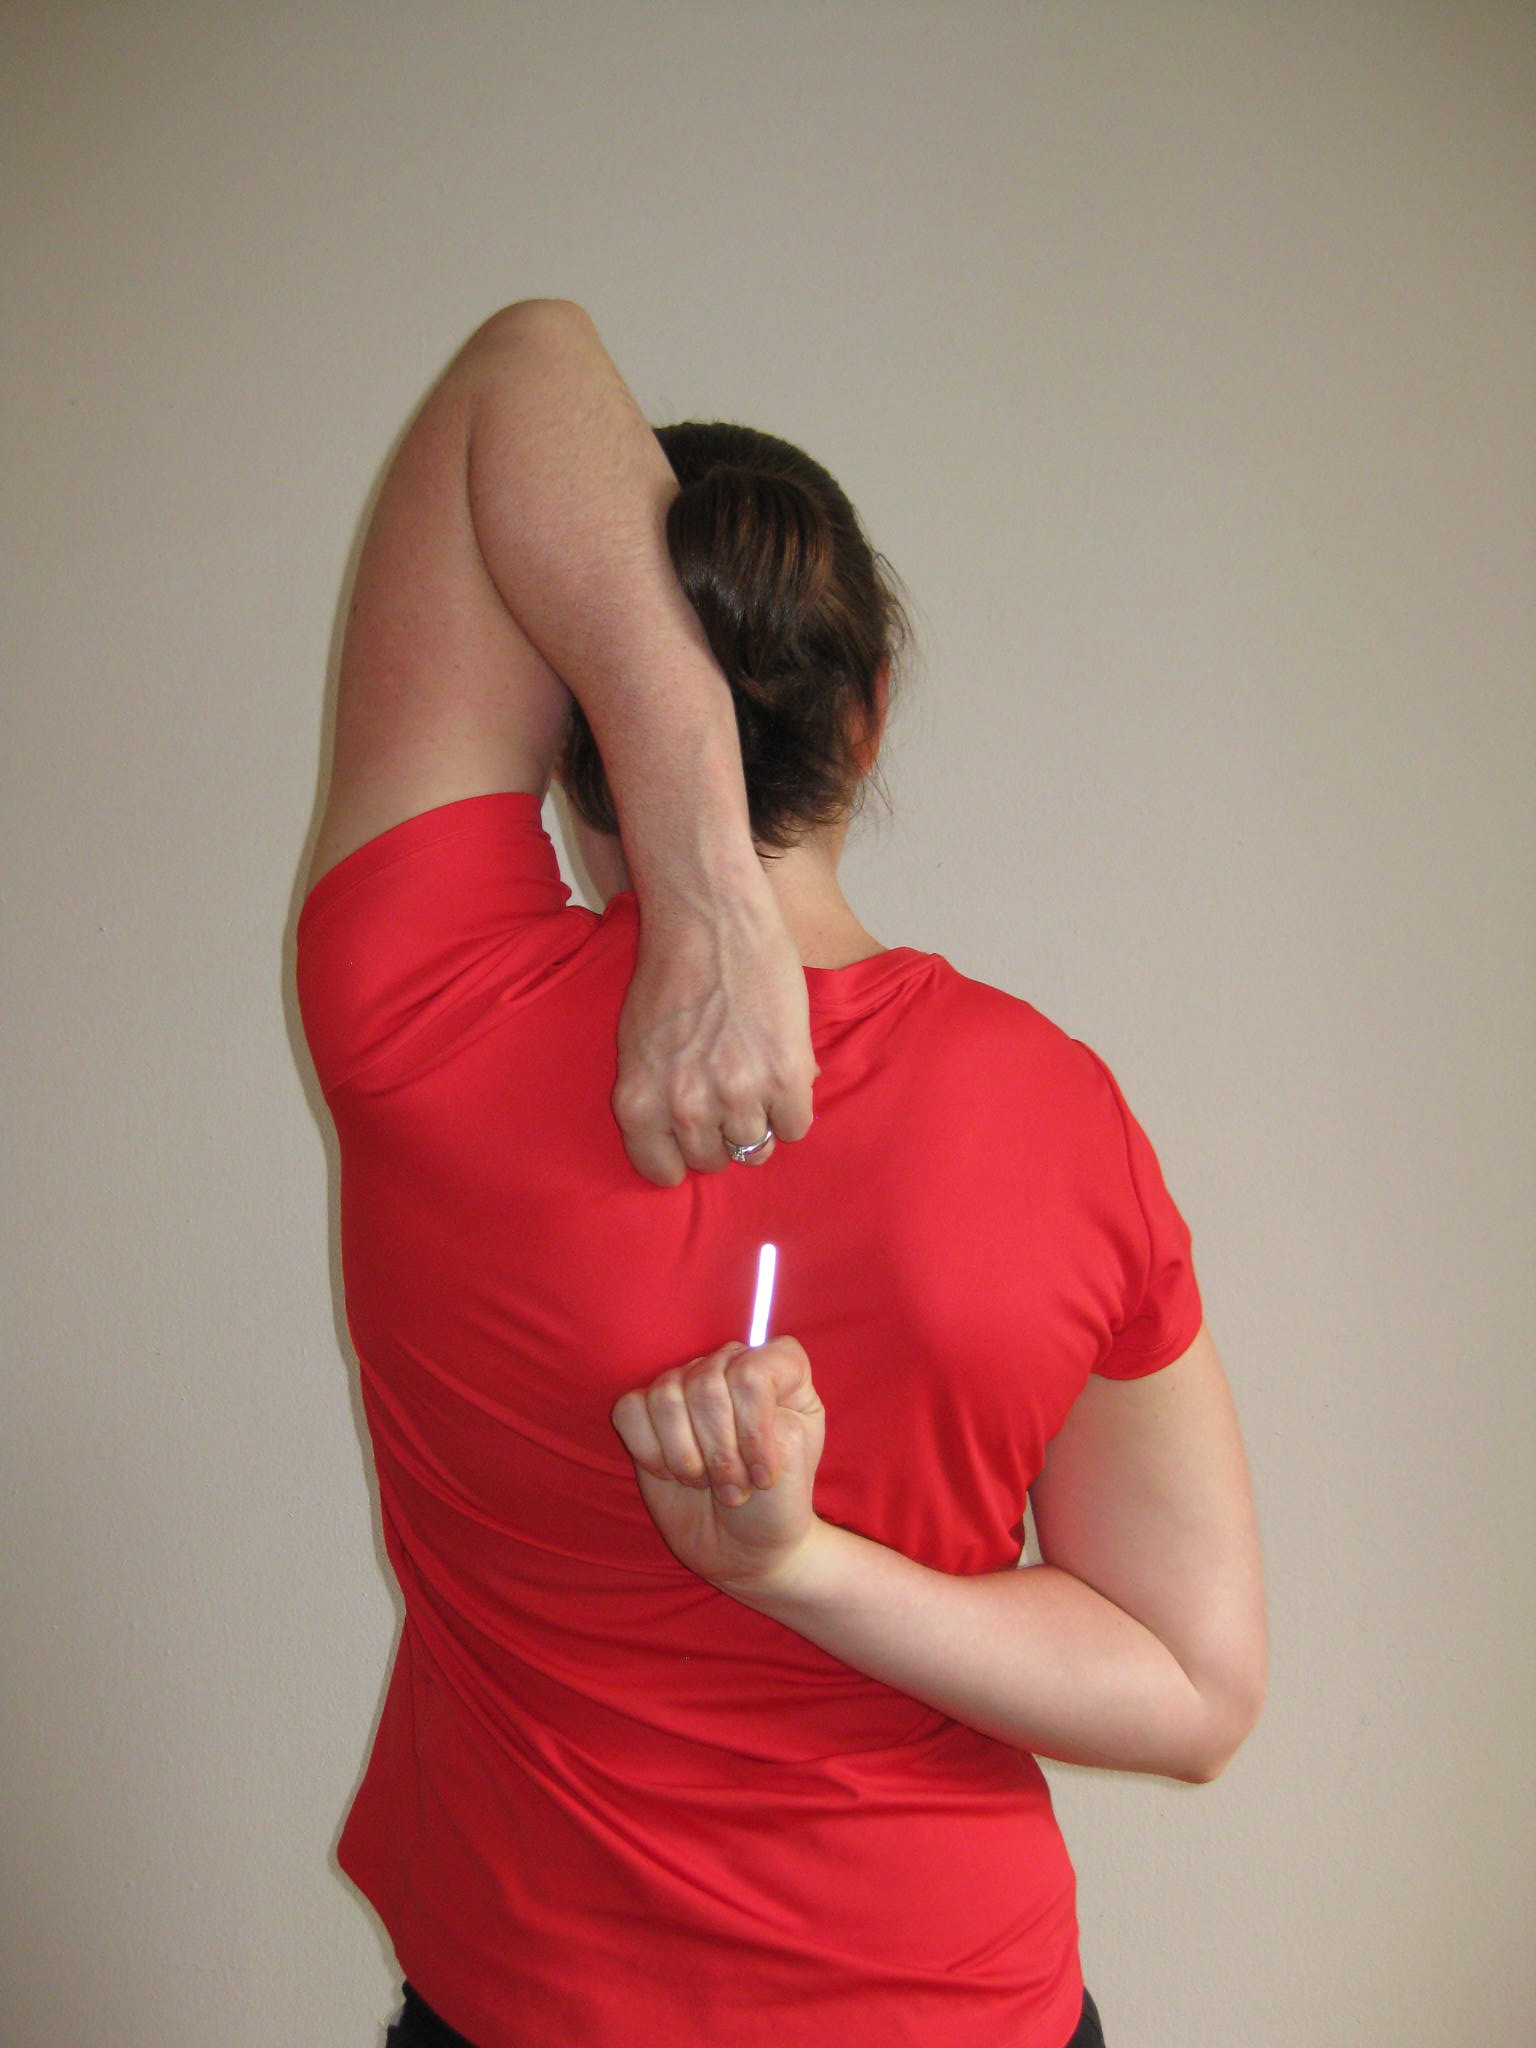
Try It: First, determine the length of your hand by measuring from the wrist (distal crease) to longest fingertip. Make a fist with both hands, fingers inside your fist. Simultaneously reach one fist behind your back and the other behind the neck. Try to get your fists as close to one another as you can. Make sure the motion is smooth and the fists remain closed.
Measure the distance between the two closest points of the hands in both directions and compare to your hand width. Ideally, the distance between your fists should be less than your hand length.
#1 Problem with Pull Exercises
The biggest problem with training pull movements with only your bodyweight comes when you have limited equipment. It’s not like doing a squat, push up or plank.
Ideally, access to a gym is helpful to train your back. It’s not essential – but you do need home equipment. A resistance band, a dumbbell, TRX or Equalizer (as shown below) is plenty. Don’t worry, this stuff doesn’t take up space – trust me it all fits in my apartment!
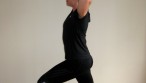
WARM UP EXERCISE: STICK UPS
This is hands down one of the best exercises for improving your shoulder mobility. It’s way harder than it looks, so keep practicing and work within your range of motion.
The Movement
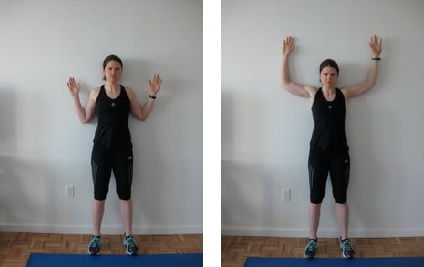
– Stand with your back against a wall. Your feet should be 6 inches away from the wall and your butt, upper back, and head should all be in contact with the wall at all times in the exercise.
– Stick your hands up overhead. Try to keep your shoulders, elbows, and wrists in contact with the wall at all times.
– Slide your arms down the wall and tuck your elbows into your sides. This should bring your shoulder blades down and together.
– You should feel a strong contraction in the muscles between your shoulder blades as well as the shoulder muscles.
– From the bottom position, try to slowly slide your arms up until they are straight and in a “stick-em up” position. Try to keep everything in contact with the wall.
Common Mistakes:
– Keep your core muscles engaged throughout the exercise
– Try to keep everything in contact with the wall
– Each week, your goal is to improve your range of motion, shoulder mobility and postural control
Do 2-3 sets of 10 reps. Remember, make sure you do it before training your back.
LEVEL ONE: Band Pull Apart
This is a great exercise to get started on to correct the rounded shoulder posture. It activates the muscles that retract your shoulders, as well as core stabilizers. Looks easy, right? Get a very light resistance band to start with. You’ll be surprised.
The Movement
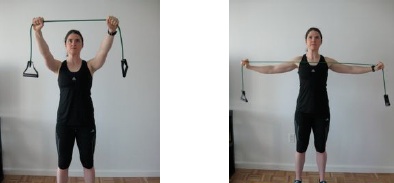
– Stand with feet shoulder width apart, holding a band slightly above eye level
– Squeeze your shoulder blades down and back, while pulling your hands apart horizontally
– Pull the band until it touches your chest
– Return to the starting position
Common Mistakes To Avoid:
– Engage your core throughout the movement and keep your chest up
– Keep your elbows slightly bent
Are you ready for the next level? Aim to comfortably do 15-20 reps, 3 sets before moving to the next stage. Instead of using a heavier band to make it challenging, aim to do more reps because if the band is too hard, you’ll compromise your form and use the wrong muscles groups.
LEVEL TWO: Kneeling Lat Pulldown
A great variation to target your lats while keeping your glutes and core activated. No bulky machines necessary. Remember, no more sitting at the gym!
The Movement
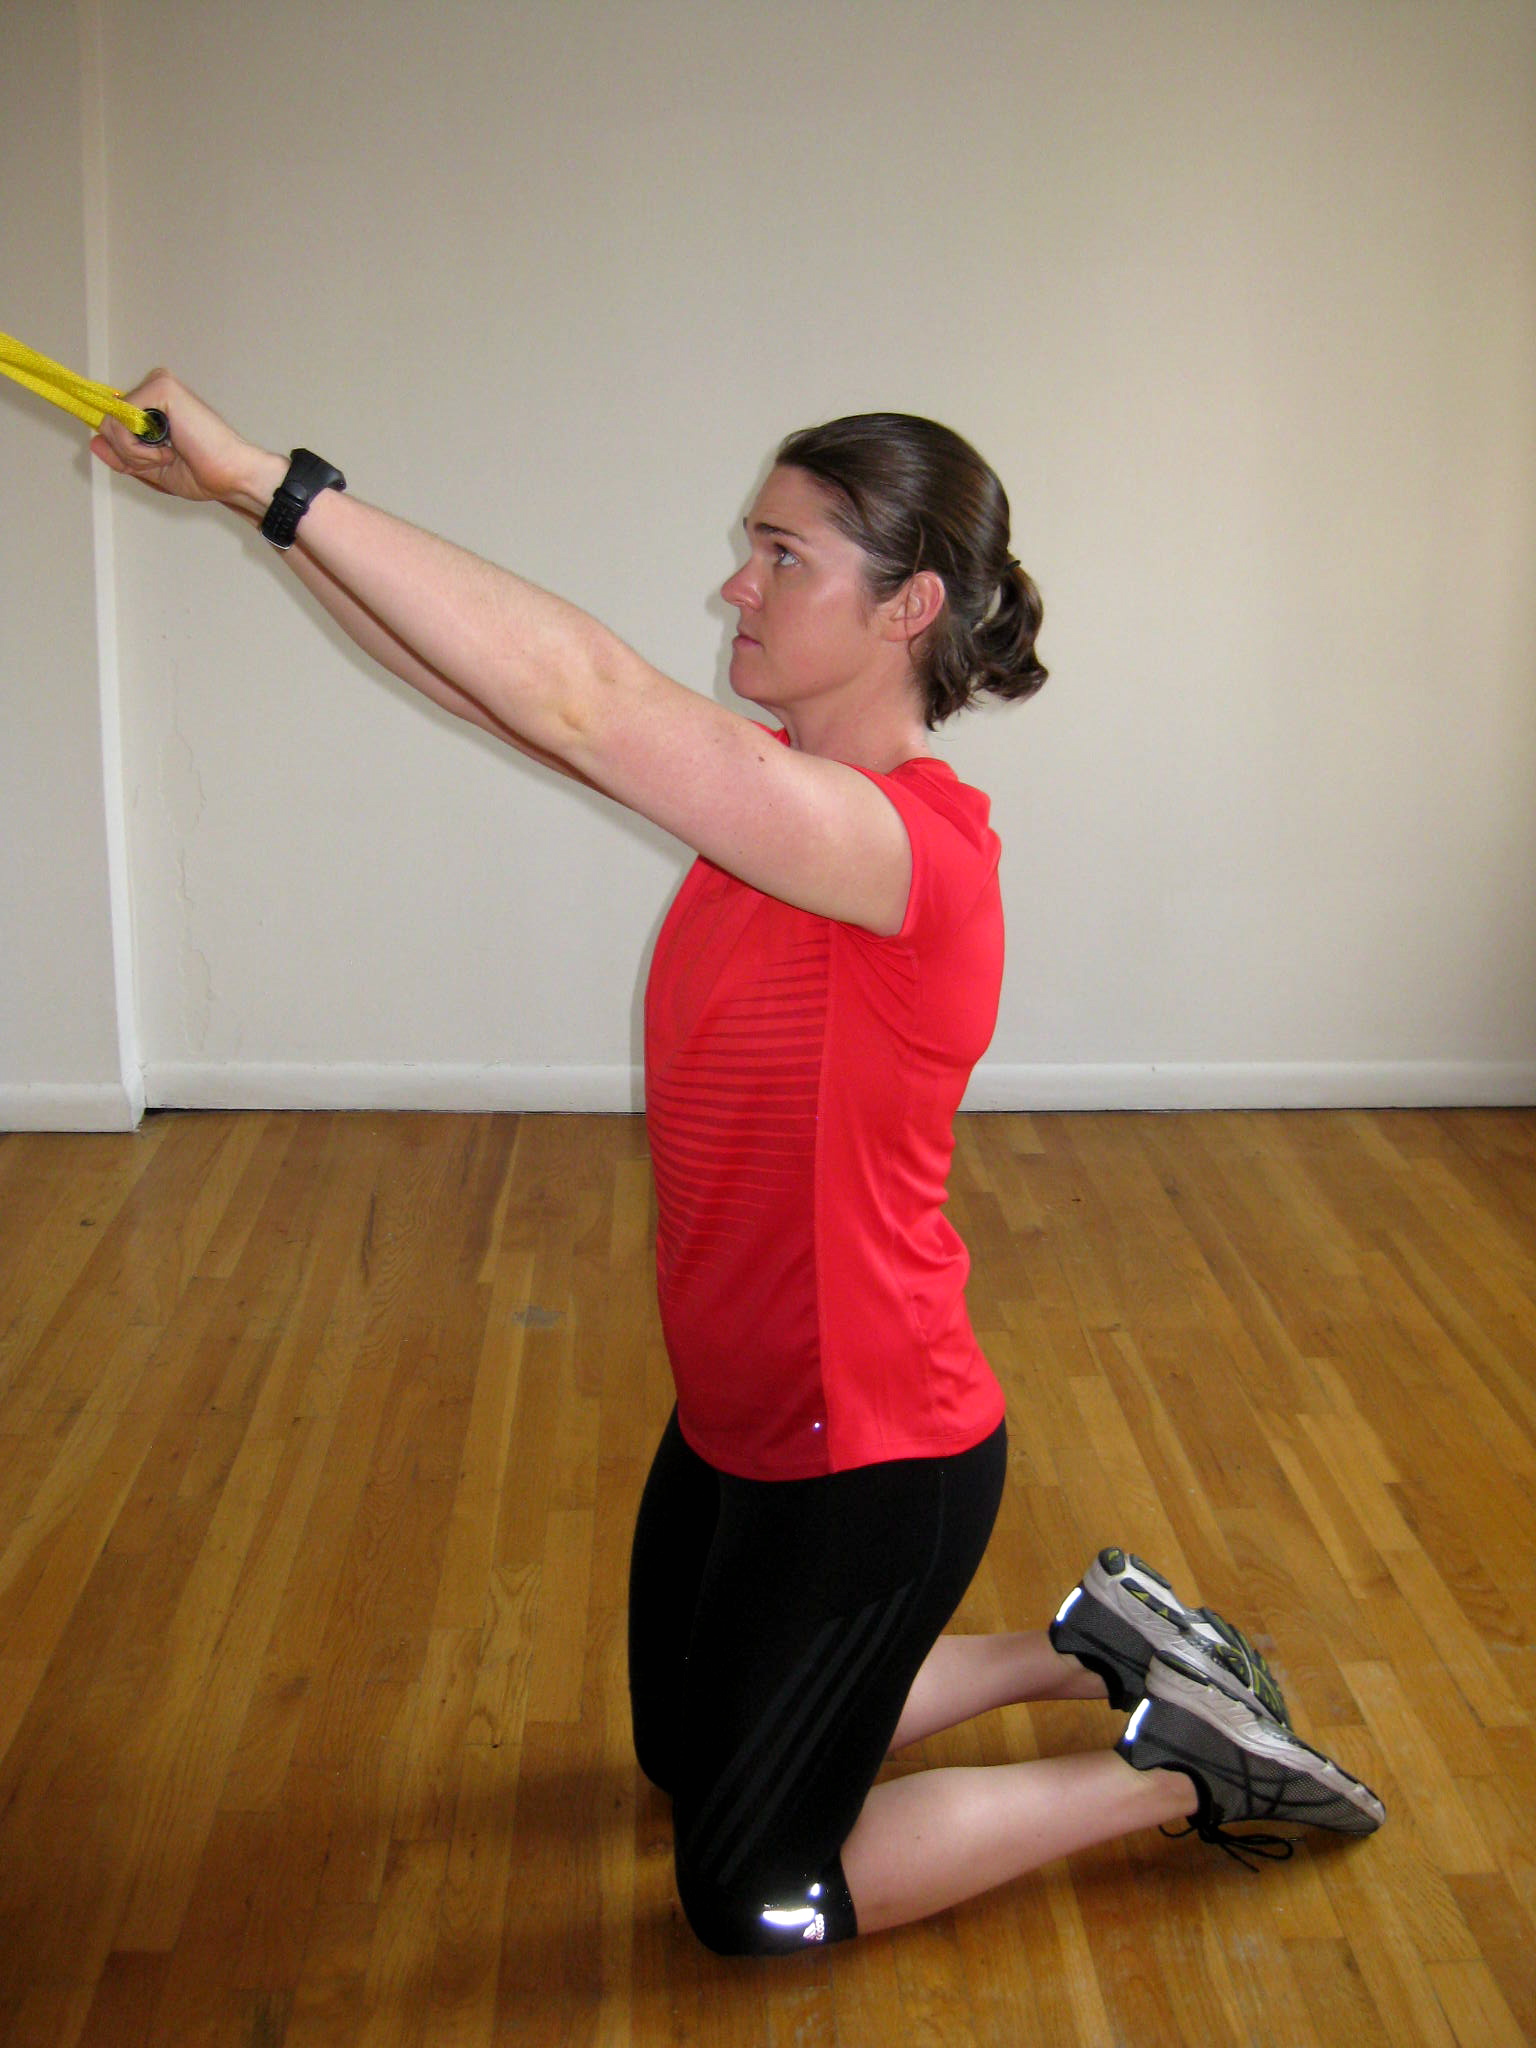
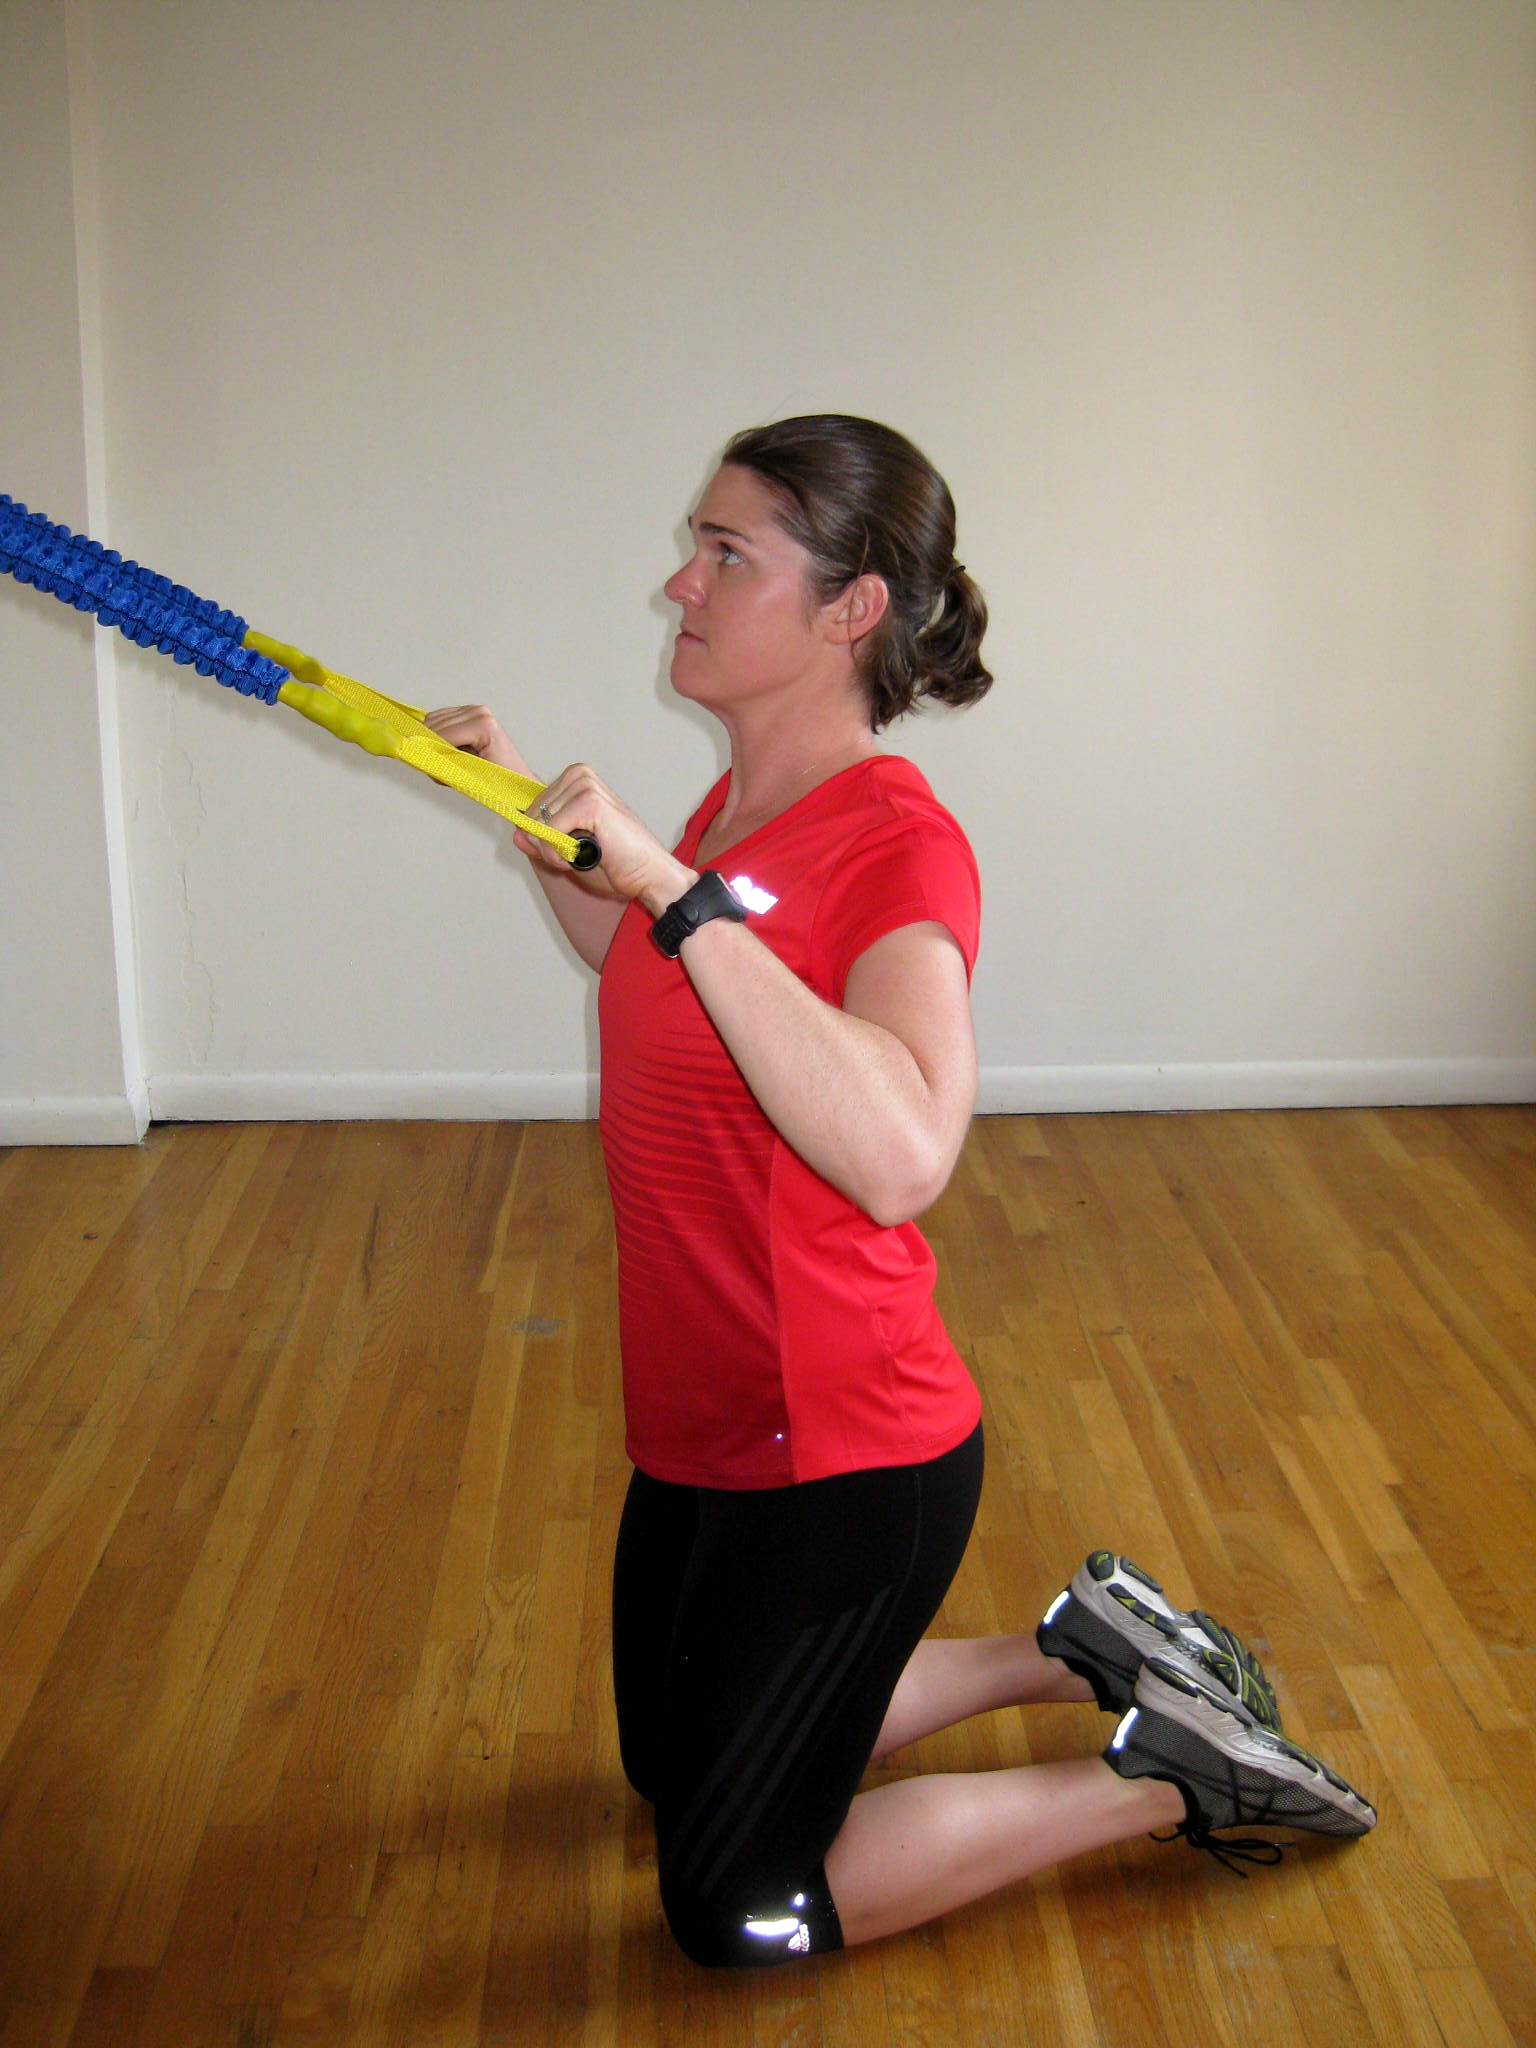
– Start in kneeling position, facing the band anchor point or high pulley cable machine. Hold both handles with arms fully extended with your palms facing the floor.
– Begin by pulling the cables down, bending your arms, until the elbows past your torso.
– Think to squeeze your shoulder blades down and back and push your chest out just slightly.
– Pause briefly, return to the start position and repeat for the prescribed number of reps.
Common Mistakes To Avoid:
– Try not to arch your back. Keep your abdominals tight throughout the movement.
– Palms facing down throughout the movement.
Ready for the Next Level? Give yourself at least 4 weeks on this level. Once you learn the movement and can do 3-4 sets of 12-15 reps, drop the number of reps to 8 and increase the resistance. If you’re at the gym, the cable machine is perfect to use.
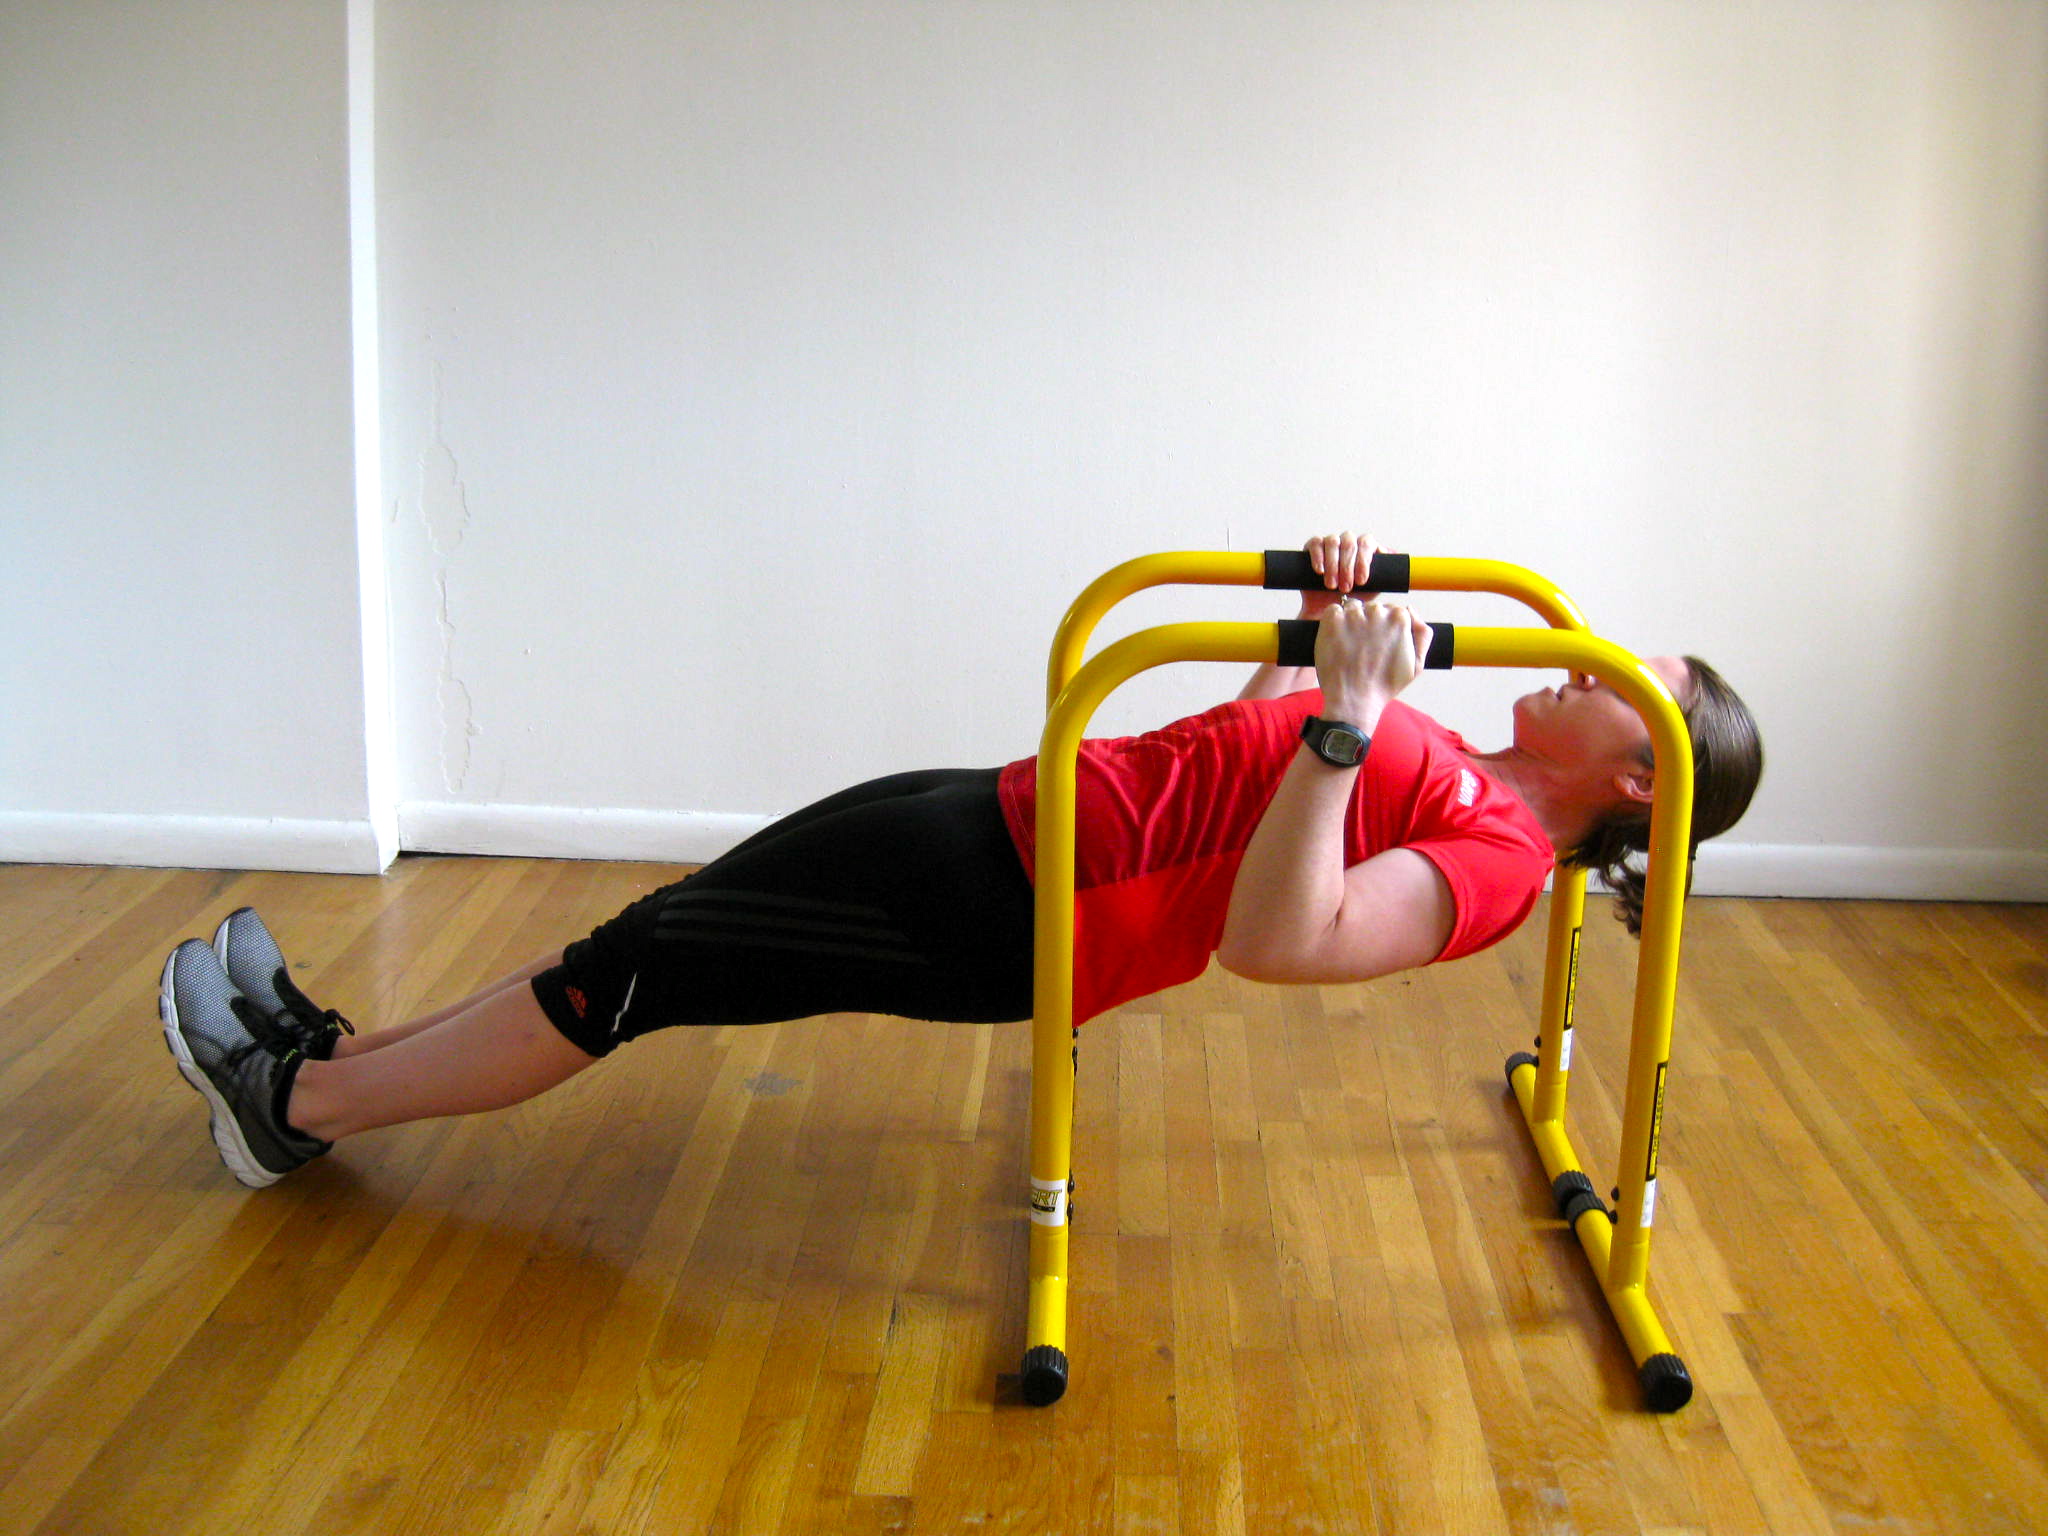
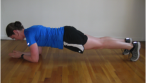
LEVEL THREE: Inverted Row (Equalizer, TRX)
This cool variation is the perfect progression to prepare you rock a chin up. Using only your bodyweight as resistance, this movement will take you to the next level.
The Movement
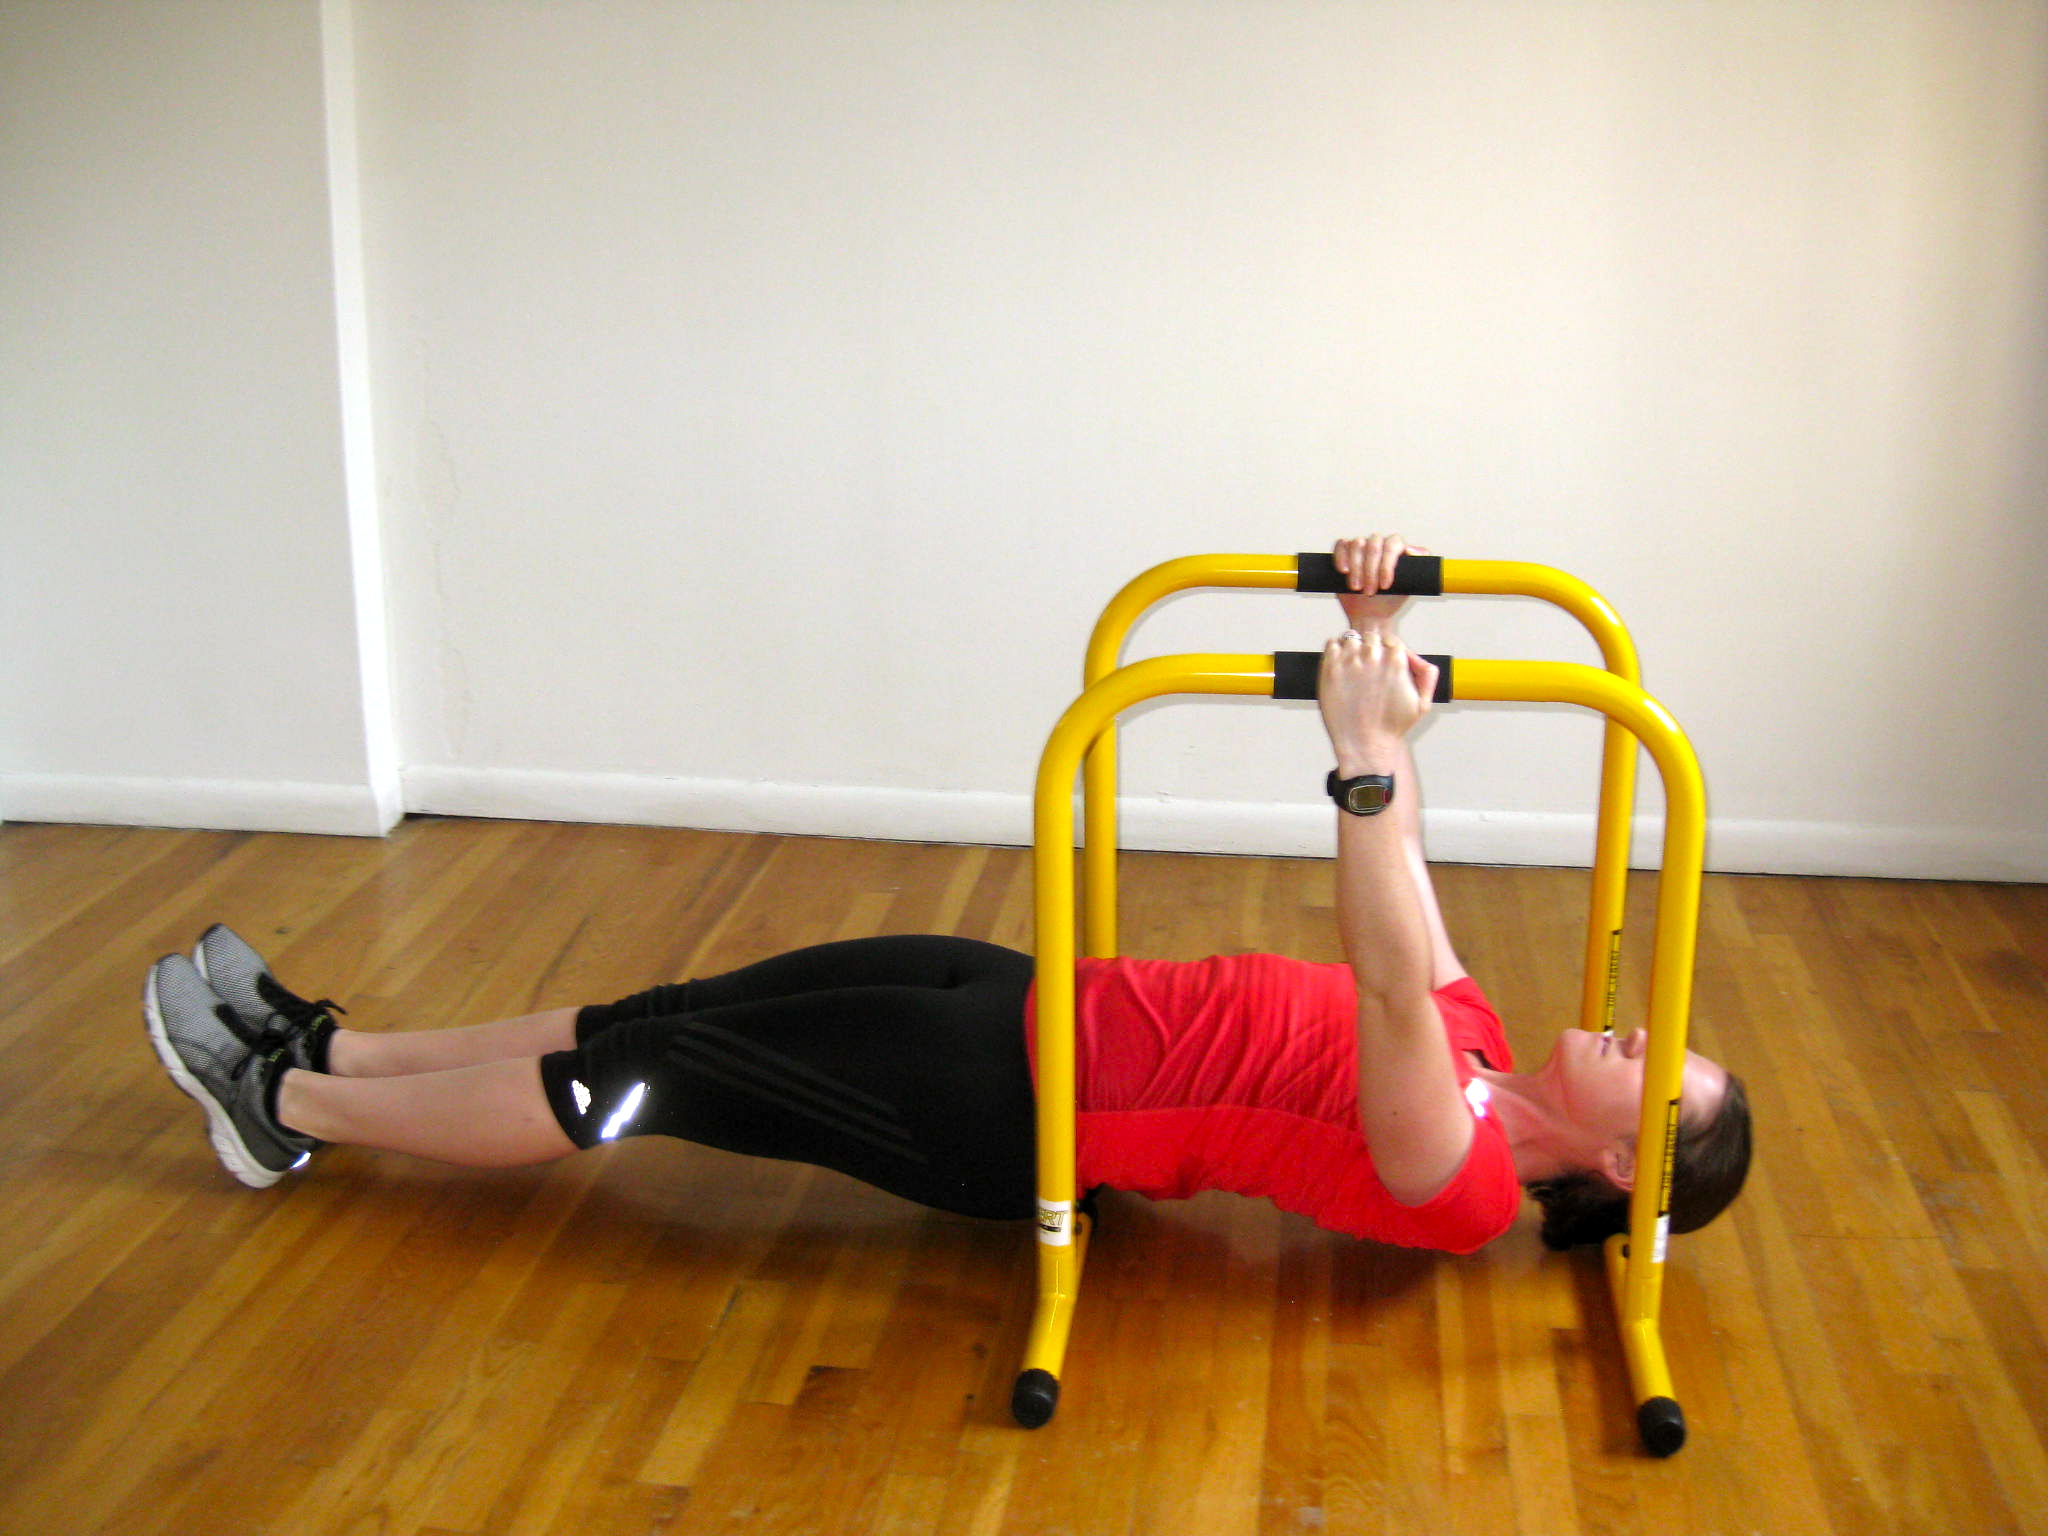
– Slide between the bars and grip it neutral and overhand, with your hands shoulder width apart.
– You must set your body in a plank position, straight line from neck to ankles with only your heels on the floor.
– Hang with your arms straight, shoulder blades retracted. Pull your chest to the bar, return to the starting position and repeat.
Mistakes To Avoid:
– Make sure you keep your body in a straight line throughout the movement.
Are you ready for the Next Level? When you can do 3-4 sets of 15-20 reps of the inverted row, you’re ready to tackle the next level. Give yourself at least 4-6 weeks minimum.
LEVEL FOUR: Negative Chin Ups and Pull UP
Here we are. it’s serious chin-up time. Let’s do it! This particular exercise involves an eccentric contraction that will help your functional, neuromuscular and physiological strength.
Just a warning, the first time you do this you’ll probably be sore 24-48 hours after.
The Movement
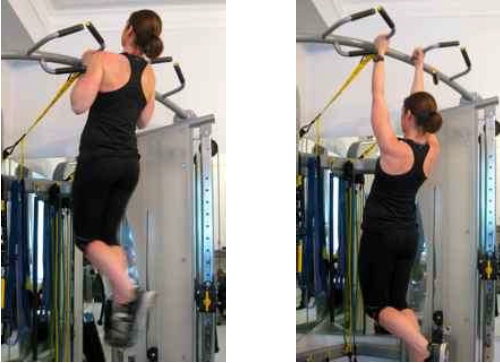
– Stand on a bench or step beneath the chin-up bar.
– Hold the chin-up bar tight with a shoulder width, underhand grip.
– Jump up so your chin is over the bar and hold that position.
– Concentrate on moving your elbows down and back. Form a straight line with your body from head to knees.
– If your body is swaying, engage your core and get it to stop before you continue. Bend your knees with ankles crossed.
– Lower your body as slowly as possible, until your arms are straight.
– Keep your core engaged at all times. Try to descend in a straight line without swaying.
– Straighten your legs and stand on the box again.
Mistakes To Avoid:
– Swaying too much means your core is not active. Keep it locked tight. Focus on descending as slowly as possible.
The Final Word
There you have it. The chin-up is the ultimate, relative strength test. Using both horizontal and vertical pull exercises are an essential component of every smart strength training program, plus it will help you get sculpted arms!
Speaking of sculpted arms… In the FREE guide below, you’ll discover the Top 3 bodyweight moves designed to sculpt rockstar arms and shoulders fast…No matter what your age or current fitness level!
Plus I’ll show you step-by-step how to use the RIGHT exercises in the RIGHT order… so you can tone and tighten up arms to look amazing in sleeveless tops.
Grab the free guide here while you still you still can:
==> How To Tone and Tighten Up Your Arms in 5 Minutes (Ultimate FREE Guide)
Keep training hard!
Your Coach and Friend,
KV
PS. What’s your favorite pull exercise? Let me know in the comments box below…


2 Replies
I can’t even do the stick up’s 🙂 I know where to start…
Hey Colin, The stick ups are no joke! Keep on practicing. Another one to try is the band pull apart. Looks easy, but it’s killer for your upper back 😉