


 Share
ShareYesterday we chatted about the top 4 single leg moves to help you speed up fat loss.
But you were probably thinking…
“Hey KV, what about lunges?”
Well, the lunge exercise deserves it own article and exercise progression list.
If you’ve ever gone overboard on the lunges in a workout, I bet your legs and butt were killing you the next day. 
OUCH!
Most people hate lunges… especially beginners. And I’m not surprised they hate it. This is NOT a beginner’s exercise!
Lunges require a higher level of strength, mobility, co-ordination and balance.
So if you have restricted mobility or limited strength, it’s no wonder you hate lunges.
They are hurting you.
Often, it’s the forward lunge causing knee pain.
But knee pain when lunging is rarely a problem that originates in the knees – it often stems from imbalances (due to tightness or restricted mobility) in the hips or ankles.
The restriction in mobility can pull above or below the knee tendons causing pain, but the true origin of the problem is unknown.
Our daily activities require us to put one foot in front of the other – from walking to running, or climbing. You might think over time, considering the number of steps you take, that your legs would even out in terms of range of motion, strength and balance.
But no, unfortunately it doesn’t work like that. Everyone has a muscle imbalance, and that’s why one leg is always more challenging than the other.
Like I mentioned, most of us hate lunges so we avoid doing them.
Knee pain is a sign you are not ready to do a forward lunge, so if you’re currently experiencing knee pain, check out this solution and focus on hip extension exercises in this article.
Remember bodyweight strength and stability before you add resistance.
HERE’S A CHALLENGE FOR TODAY
Today’s challenge requires a few household items. Nothing too fancy – a broomstick or dowel rod and masking tape.
This is variation of another cool test Gray Cook taught me… The Inline Lunge Test.
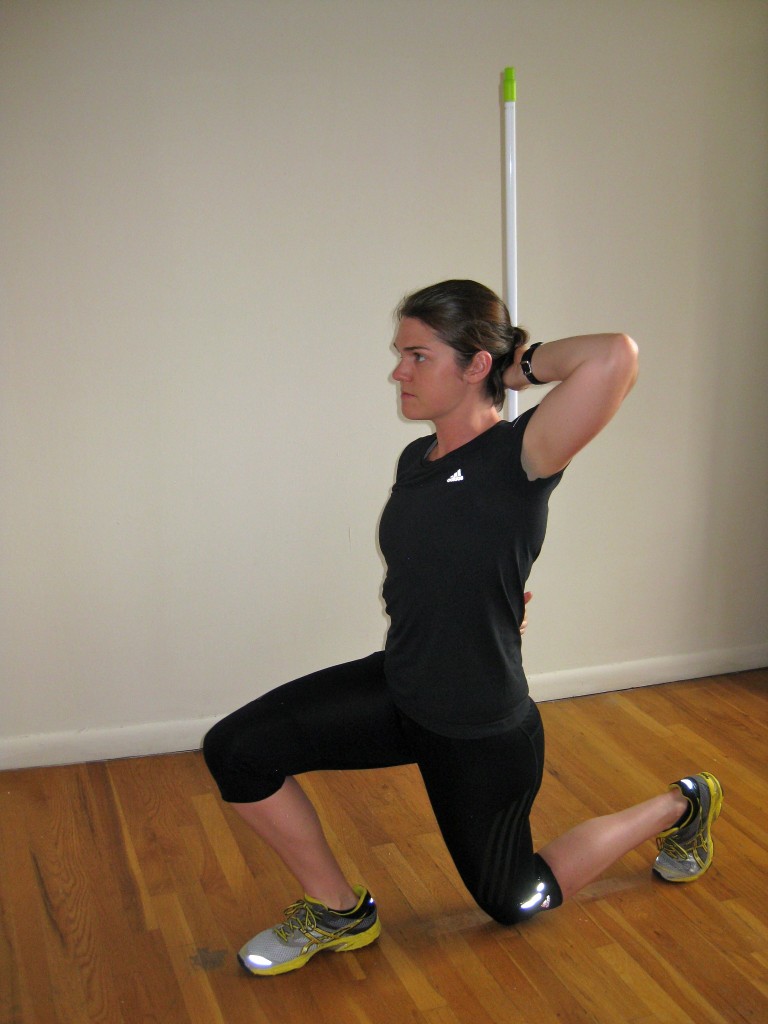
Here’s how to do it…
1. Measure the distance from the bump under your knee to the floor and tear off that much tape. Stick it on the floor in a straight line, preferably not on your mum’s good carpet. 😉
2. Stand over the tape with your right heel at one end and your left toe at the other. You must have both feet on the line.
3. Hold the rod vertically against your back with both hands, so it touches your head, the space between your shoulder blades and the midline of your glutes. Your left hand will hold the top of the rod behind your neck and the right in the small of your lower back.
4. Lower your left knee so it touches the tape line and then ascend back to starting position.
The rod should remain in all three spots without shifting, and your goal is to move without wobbling or losing balance.
To check if you remain aligned: keep your eyes focused on a spot directly in front of you. If you’re eyes slip off target, it’s likely you lost alignment.
5. Do as many as you can and then switch legs.
How did you go?
Awesome effort if you could get 10 perfect reps with each leg and your body is not stiff or cramped. You can jump right in and do any of the following progressions. Work on changing up load, reps and tempo to further progress.
If you wobbled and struggled, start at Level One and work on your stability.
LEVEL ONE: Spilt Squat
This is the basic lunge pattern. The goal is to work on increasing your mobility and stability. Start with your hands on your hips and when that becomes easy, put your hands up behind your head (prisoner grip). A cool variation is with a TRX (if you have one). This helps to support your bodyweight and keep your torso upright.
Movement
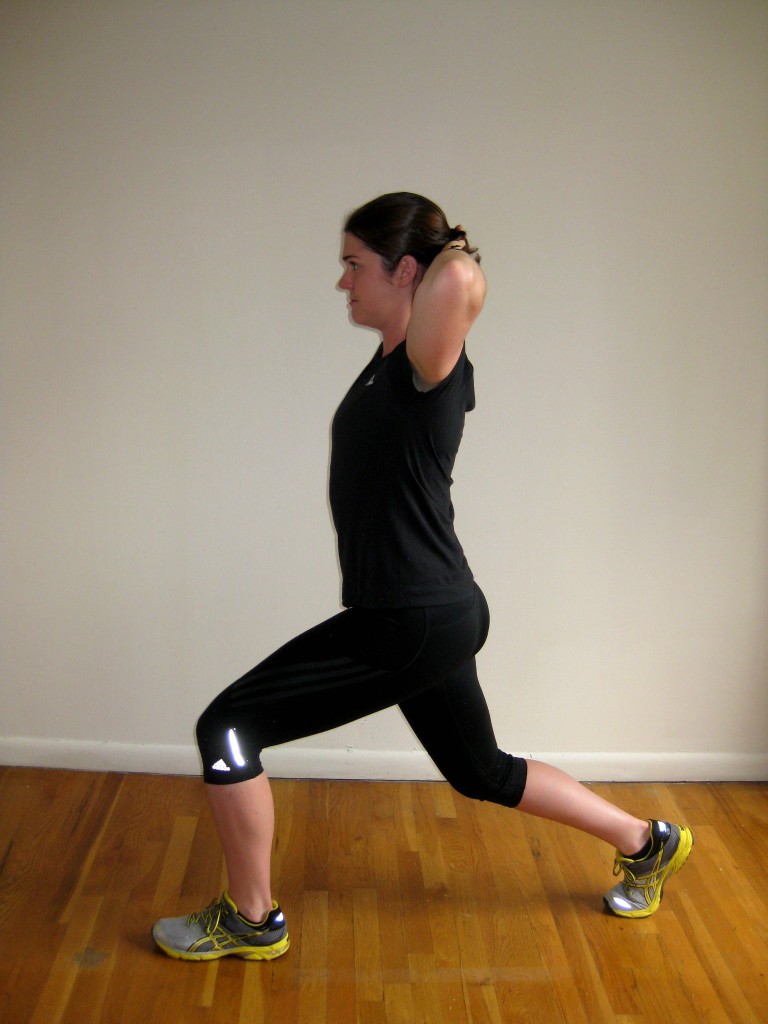
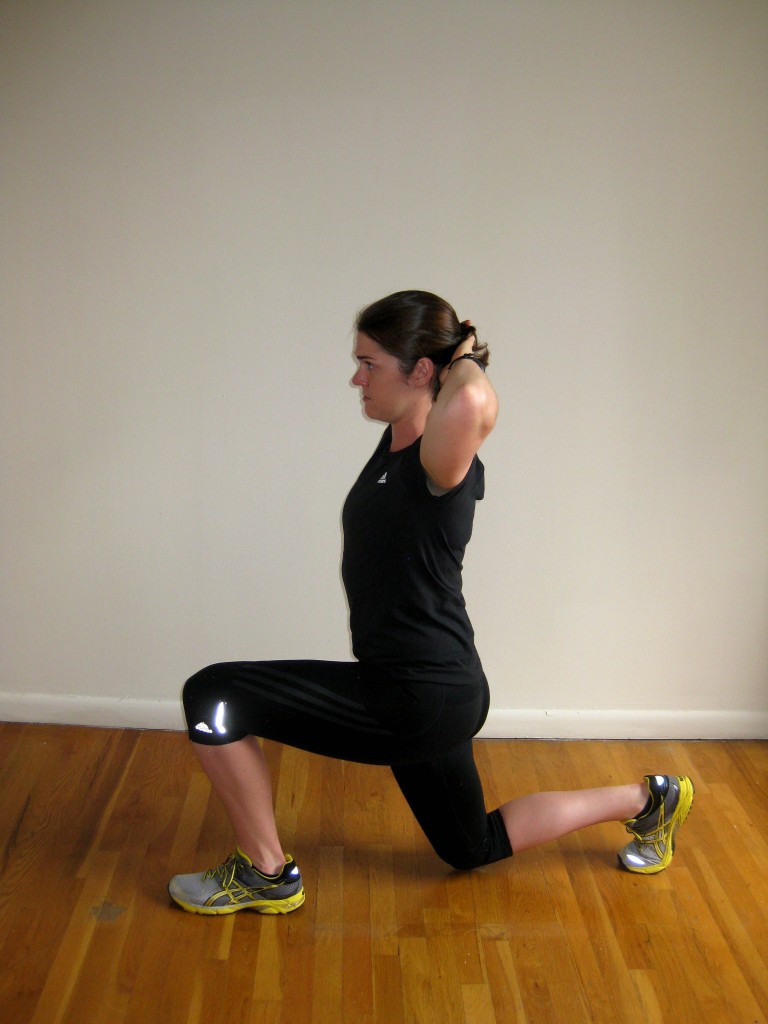
– Stand with your feet hip width apart and take a long step back on your right leg – this is your starting position.
– Lower yourself until your right knee nearly touches the ground and your left thigh is parallel to the floor. Try not to let your knee cross your toe.
– Return to starting position and repeat until you finish 10-15 reps. Switch legs and repeat.
Ready for the Next level? When you can do two sets of 15, celebrate and move on up to the next level!
LEVEL TWO: Reverse Lunge with Glider/Towel
This is one cool variation of the reverse lunge that I totally love and is a great challenge. The advantage of a reverse lunge is that is causes less strain on your knee, so it’s perfect for increasing mobility and stability.
Movement
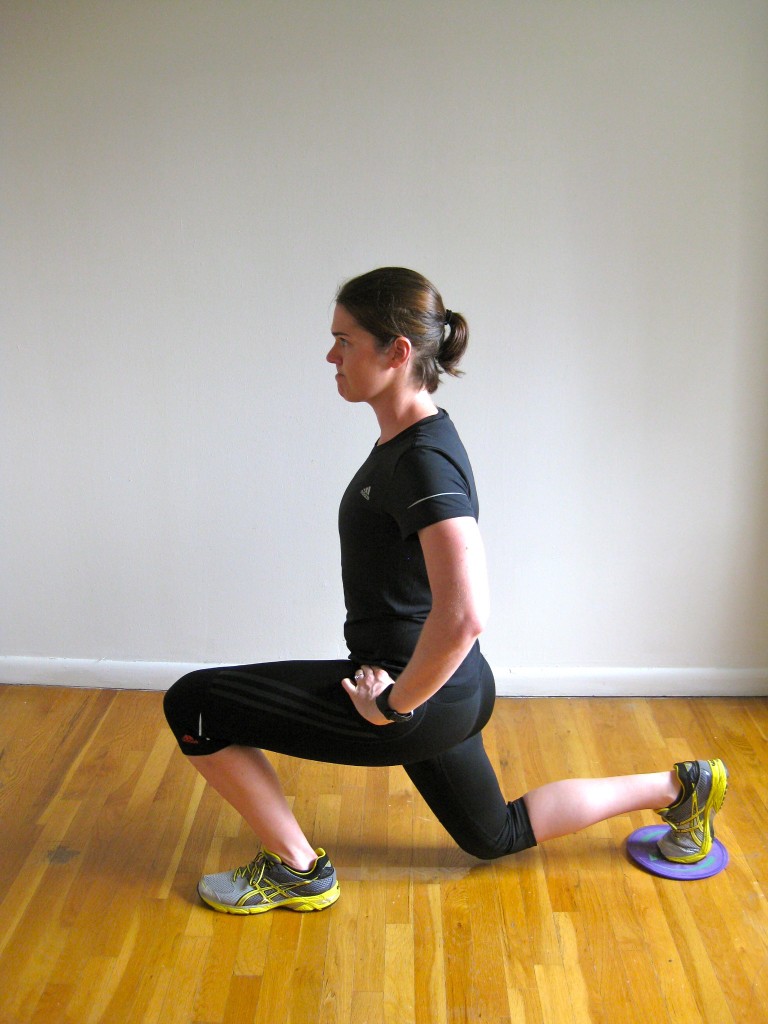
– Start with your feet hip width apart, your right foot on the Glider/towel.
– Slide your right foot back until your left thigh is parallel to the floor, and your right knee almost touches the floor.
– Make sure you keep yourself upright. Slide the right leg back to starting point, driving through the heel of your left foot and hip.
Ready for the Next Level? Aim to get 3-4 sets of 15 reps on each leg. When you can achieve this, and move fluidly through a full range of motion, you can move to the next level.
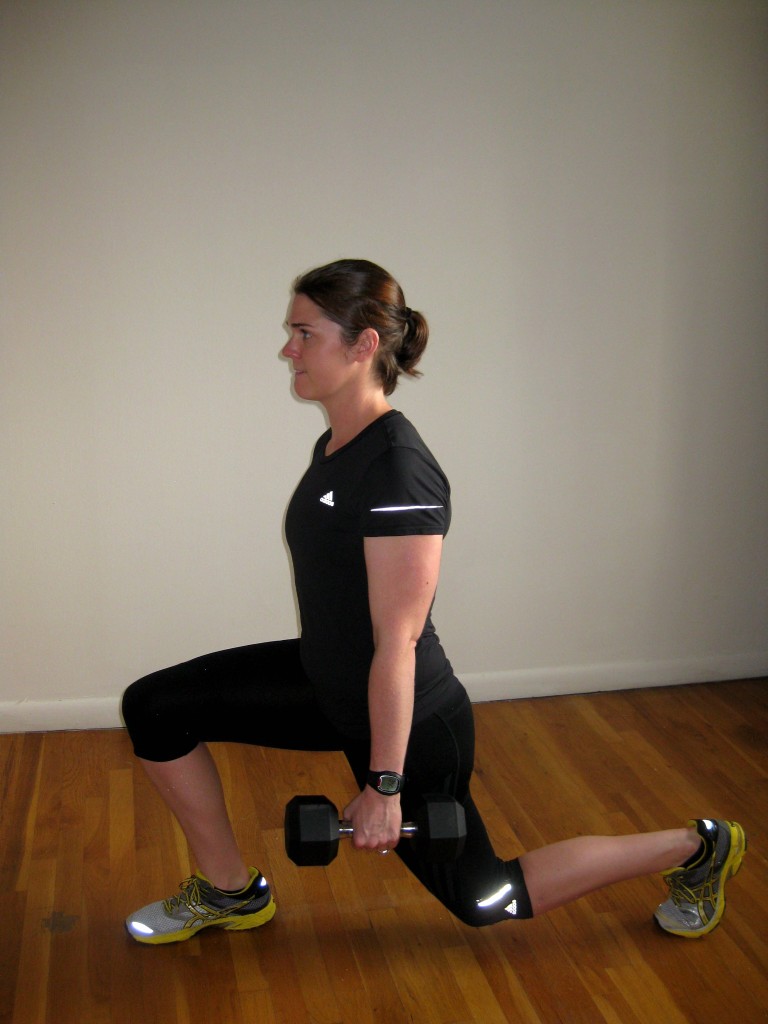
LEVEL THREE: Offset Reverse Lunge
The next level is another awesome progression to push your limits! The offset weight develops your core stability and challenges your mobility and balance. Total body movement – total fat burning awesomeness. You can also add in a step variation, and reverse from elevation.
Movement
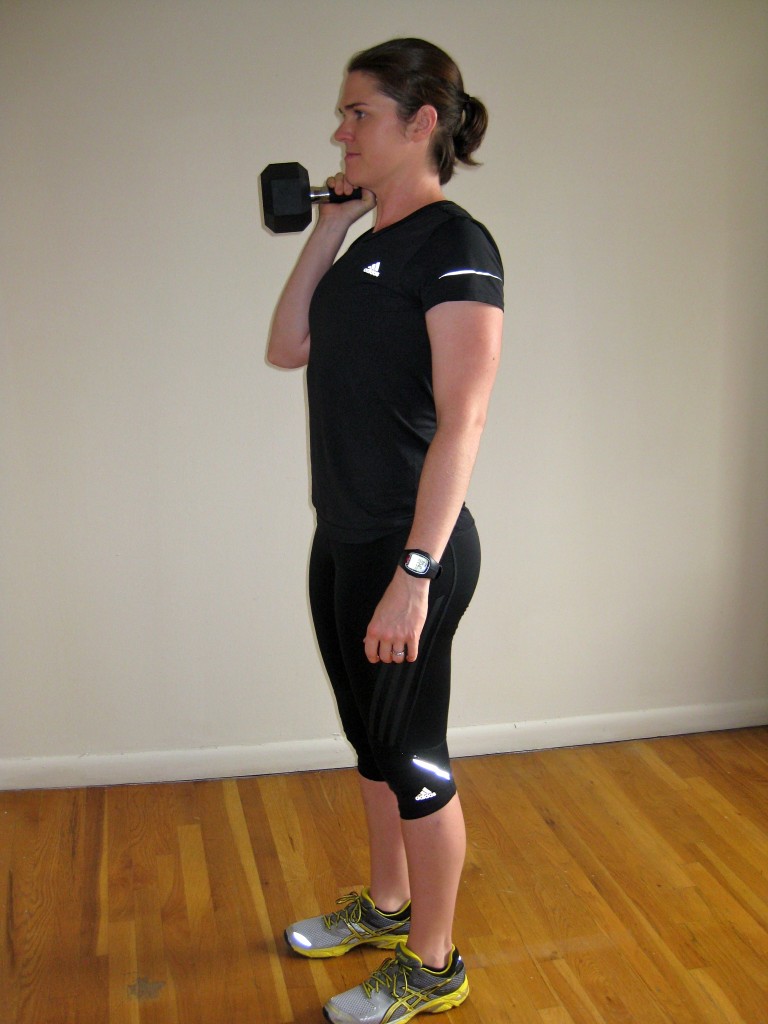
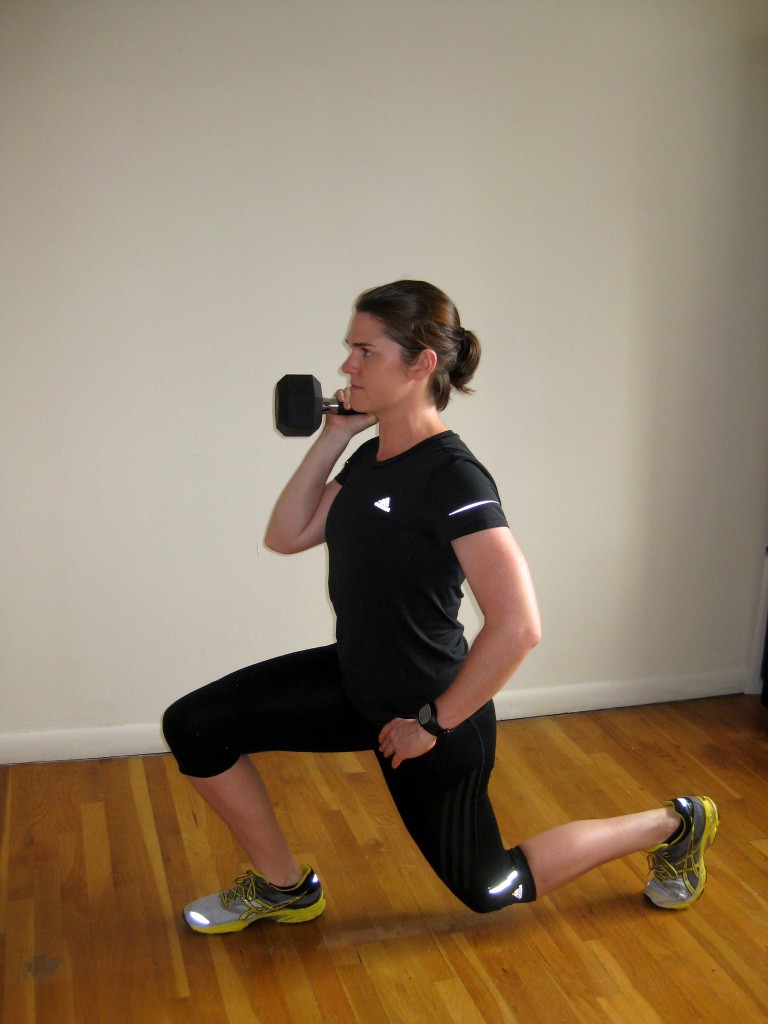
– Hold a single dumbbell in your right hand at shoulder height and step back on your left foot.
– Your right thigh will end up parallel to the floor as in the previous exercise.
– Push back through your left heel to the starting position.
Ready for the Next Level? Give yourself at least 4 weeks at this level. You can make it challenging by adding more resistance. Don’t be afraid to try a heavier dumbbell.
LEVEL FOUR: Bulgarian Split Squat
This next level exercise has a reputation as the most despised exercise on the planet. Rise to the challenge lovely people. Start with bodyweight as resistance and work up to weights and plyometric jumps for a serious burn.
Movement
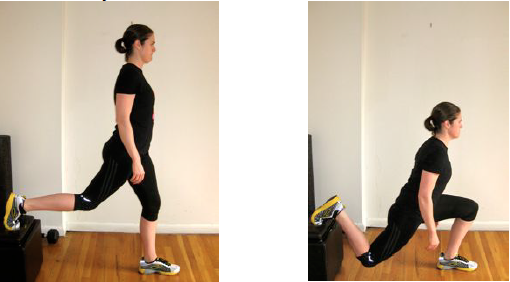
– Get into split squat position, with your rear foot elevated on a bench or step that’s at least 12 inches high.
– Lower your back knee directly towards the floor, until your working leg is parallel to the floor. Repeat for desired number of reps.
– Keep your chest up at all times. Drive the weight trough the heel of your foot.
Note: Your toes should be resting on the bench, not the instep of your foot. Lifting your rear foot higher increases the range motion – and intensity. See, this isn’t called a universally despised exercise for nothing. 😉
Your quads will be screaming at you. Make sure the discomfort you feel is in the muscles and not your knee-joint.
Ready for the Next Level? At this stage, you need to make sure you’re working in a full range of motion (ie. your working thigh is parallel to the floor.) Do NOT even think about adding weights to this exercise until you’ve mastered it with bodyweight. You’re ready for the next level when you can do 3-4 sets of 10-12 reps with light resistance.
LEVEL FIVE: Forward Lunge/Walking Lunges
The forward lunge may seem easier for you to do than a stage three or four movement, but that doesn’t mean you can start here. Any lower body problem you may have will be exacerbated by the forward lunge (particularly if you add heavy weights).
If you’ve done any of my workout programs, you’ll know that VERY rarely (if ever) do you see Walking Lunges prescribed.
This is simply because you need to have the mobility, balance and stability to get it right. When you have perfected the forward lunge, the next step is walking lunges for an added challenge.
Movement
– Stand with your feet, hip width apart. Holding dumbbells by your side.
– Take a long step forward with your right leg, and lower yourself until the right leg is parallel to the floor.
– Your left knee should almost touch the ground. Remember to keep your torso upright.
– Push back to the starting position (if you are doing a forward lunge) or push off with your left leg and step forward into a lunge with your left leg (walking lunge variation). Continue alternating legs.
The Final Word
I love how the lunge is such a versatile exercise!
Further progressions get really creative – you can change the angle, elevation, resistance, stability, offset load or a combination.
The most important detail to remember is getting the basic bodyweight movement right – FIRST.
If you have pain in your knee when doing lunges, click here for the solution.
Lunges = sexy results!
KV


2 Replies
Very informative. When in alignment, I can feel the move to be easier (once I got my balance), right muscles firing. Thanks
Great to hear this Frances! Keep up the awesome work 🙂