


 Share
ShareIs the squat THE best exercise ever?
You’ve probably seen it featured heavily in exercise examples, discussions and some experts even consider it the #1 movement for life.
I vote YES… the squat is definitely one of the best….IF you do it correctly.
Why do So many people mess it up?
Thanks to our lifestyle, we often have muscle imbalances which compromises our form when squatting.
For example:
– Hip flexor tightness (sitting related)
– Weak gluteal/butt muscles (from sitting on them)
– Poor core stability (again, sitting too much)
A full squat requires core stability, as well as mobility of your hips and ankles. Seeing as squatting is such a prominent and important movement pattern for daily living, you would think perfect form comes naturally. But think again…
Have you ever watched baby or child squat? Sure, I bet you’ve seen this example before.

Wait, it’s NOT perfect, but squatting does come more naturally for some of us…
At the other end of the population, the ability for an older person to get up out of their chair without assistance is an indication of their functional independence.
So if you’re planning to start a new strength program, it is advisable to relearn how to squat before stacking heavy barbells on your shoulders.
And of course, I can help you rock it out 🙂
Your squat can be progressed (made more difficult) or regressed (made easier), depending on your current mobility, strength level and any limitations due to injury.
And just in case you’re wondering, this is NOT smart exercise progression…
HERE’S A CHALLENGE FOR YOU RIGHT NOW
Can you squat correctly? Jump up now and let’s see how you do.
Stand up with your feet shoulder width apart. Using your arms out in front to help with balance, bend your knees and push your hips back as far as you can until your thighs are parallel to the floor. Keep your chest and body upright and your feet flat. Don’t worry about your knee position.
Stand side-on to a mirror to check yourself out. This is how it should look:
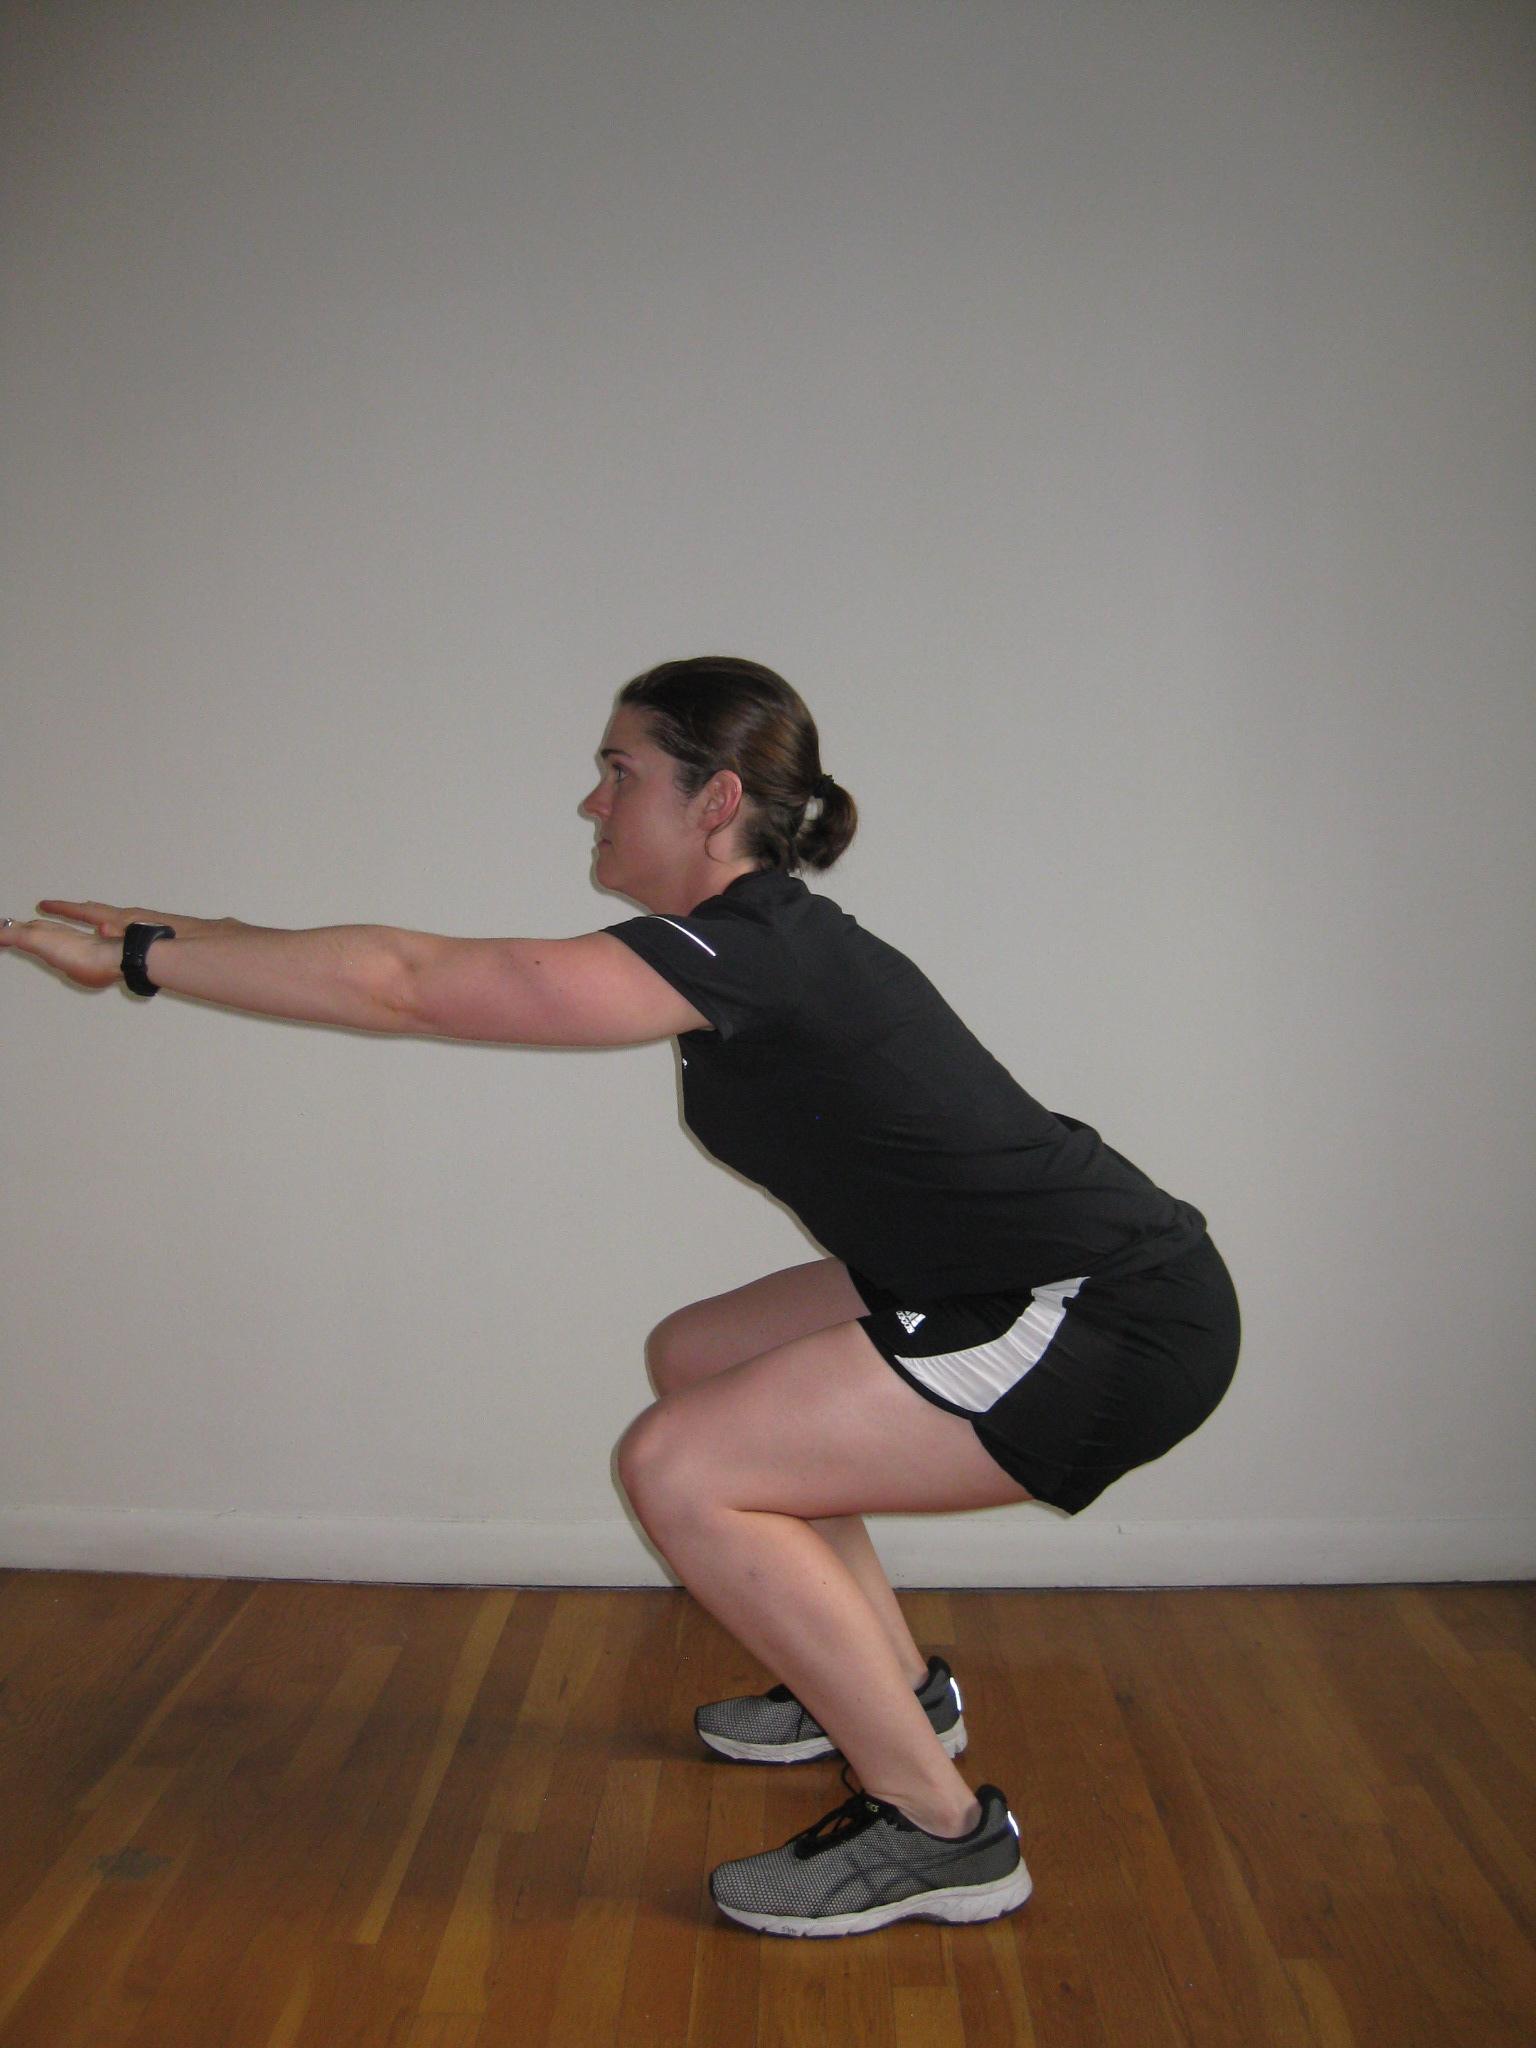
– Your feet are flat
– Your ankles and torso bent forward at the same angle
– Eyes forward and chest up (that’s if you weren’t checking yourself out)
– Knees directly over your toes (not inside or out)
From front-on, check your symmetry. Are your toes pointing straight ahead? Do your knees stay inline with your toes or collapse inward?
If your squat looks awesome (just like mine above), feel free to start at Level 2 or 3 and challenge yourself. If not, start at the Level 1 and work to increase your range of motion with bodyweight.
LEVEL ONE: ASSISTED SQUAT
The most important thing with the squat is getting a good range of motion. If you could not get your thighs parallel to the floor or lower, first we need to work on range. Having a TRX (which I highly recommend) will help to support your bodyweight while building leg strength and core stability. This encourages good form throughout the range of motion.
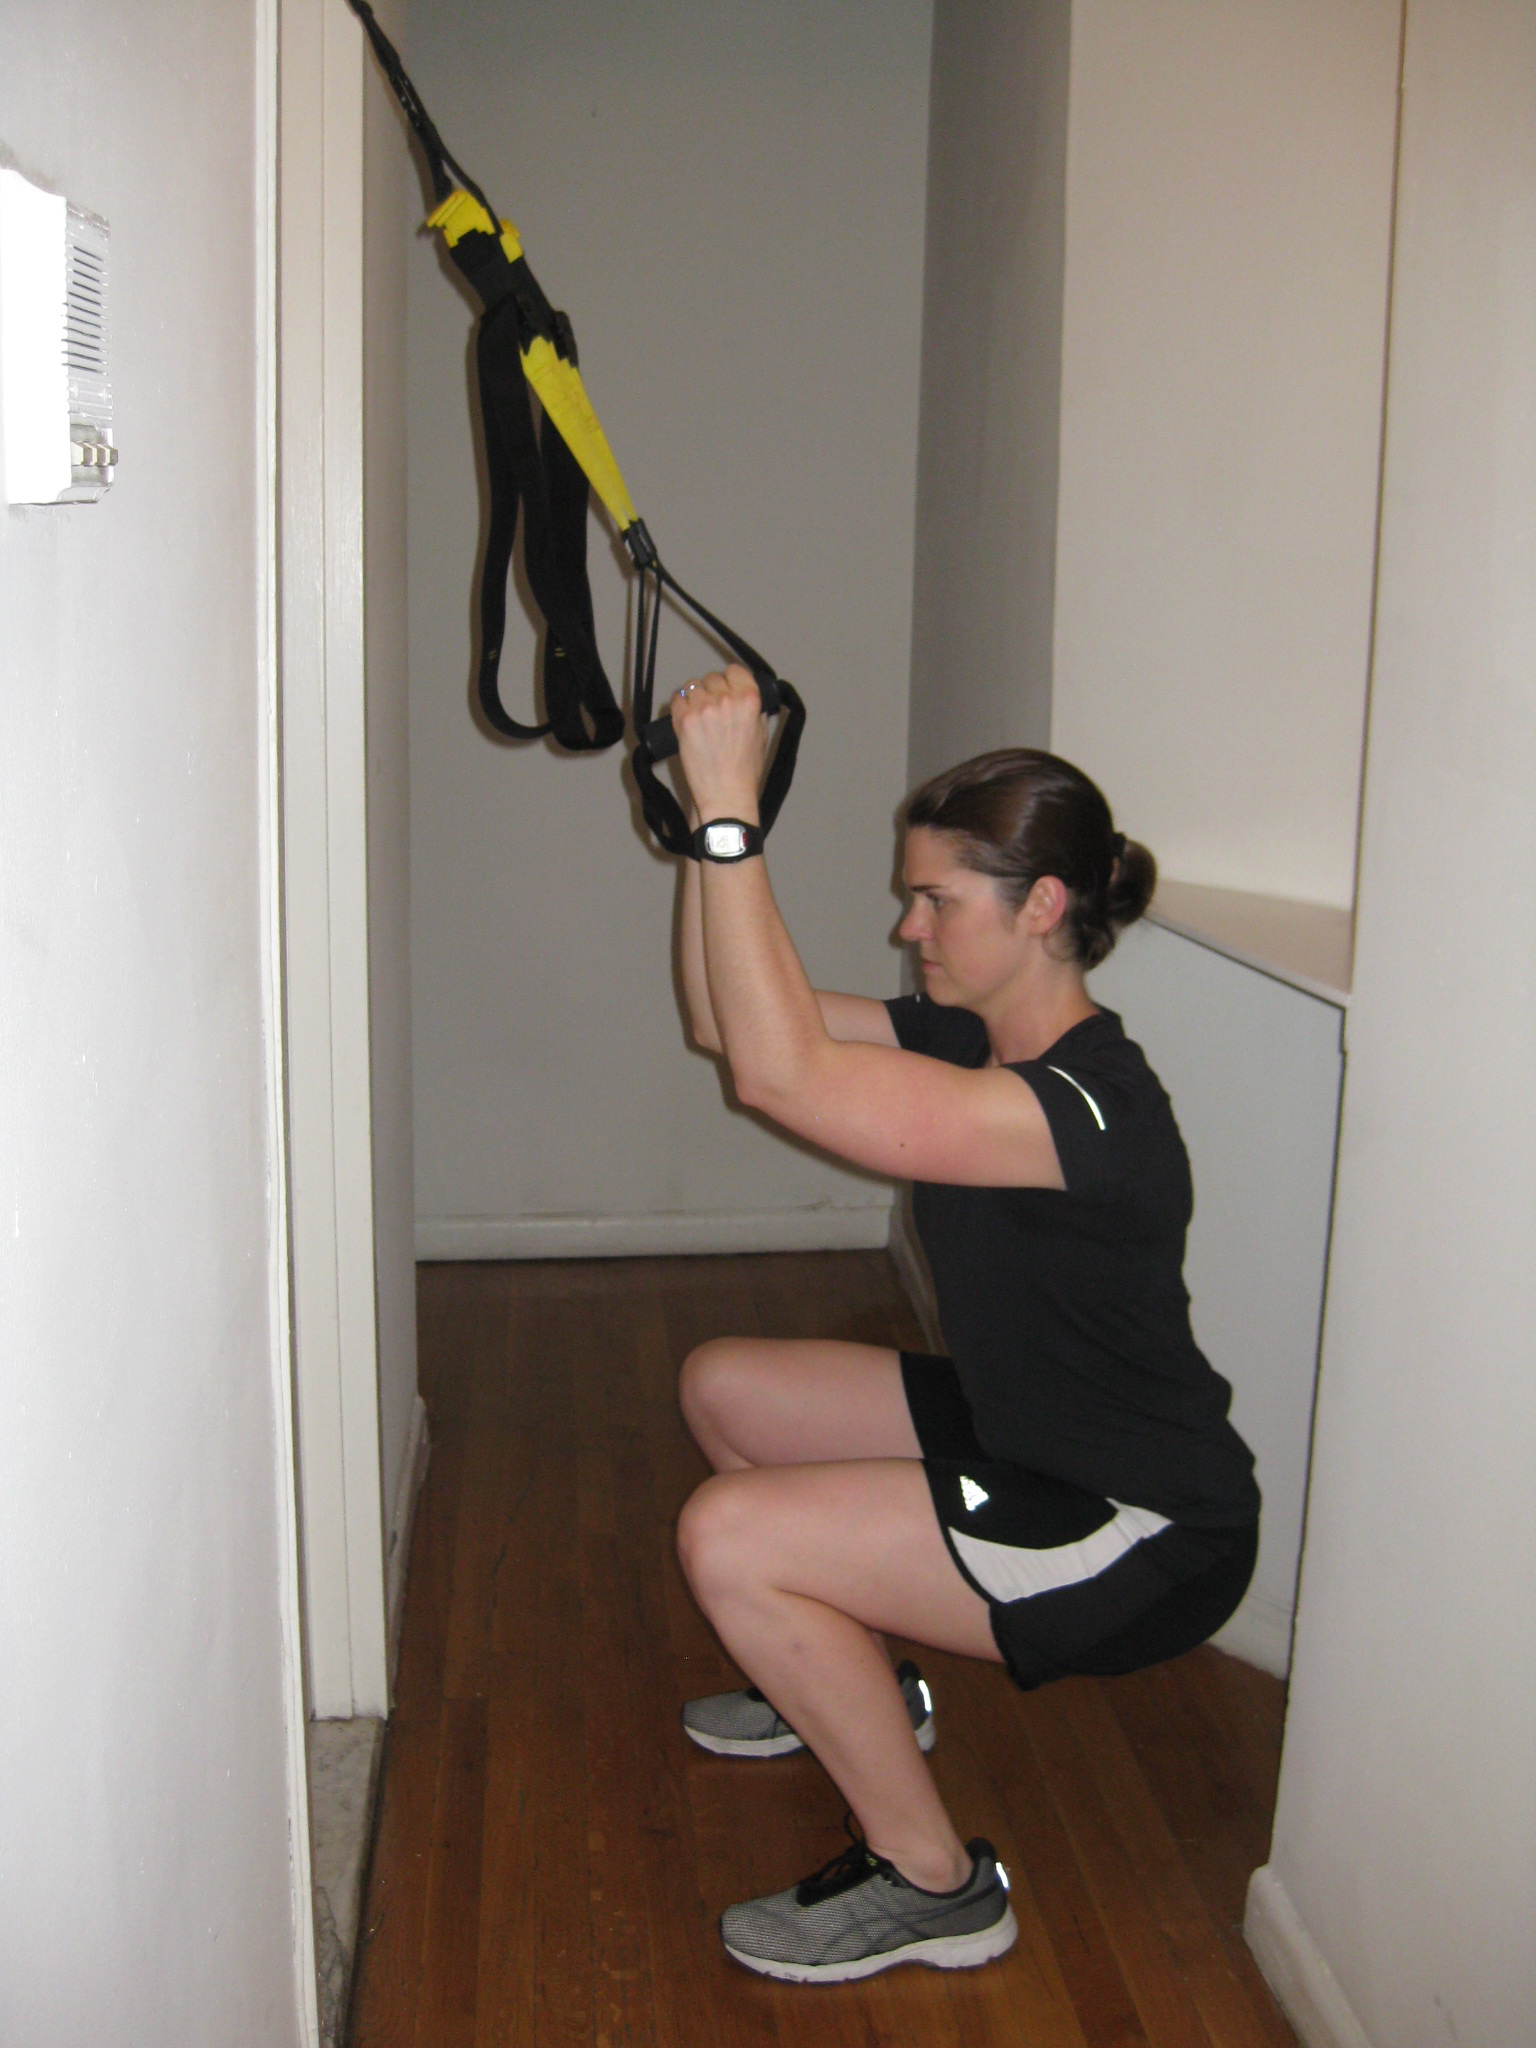
You can also use a pole or sturdy furniture for support. Use one arm to rest on the support, with the other up behind your head. Push your hips back into a squat, as described above. Remember to switch arms for the next set.
Ready for the Next Level? Aim to get 15 good reps out with bodyweight before you progress to the next level!
Note: You can add bodyweight variations (like the Prisoner Squat) here to make it more challenging, if you don’t have access to dumbbells.
LEVEL TWO: GOBLET SQUAT
The next level adds a challenge to your core by holding weight up at chest height. Your center of gravity is above your midsection – meaning your core has to stabilize throughout the movement. Plus, you don’t have the awkwardness of holding heavy dumbbells by your side, where your grip strength gives out before your legs do.
The Movement
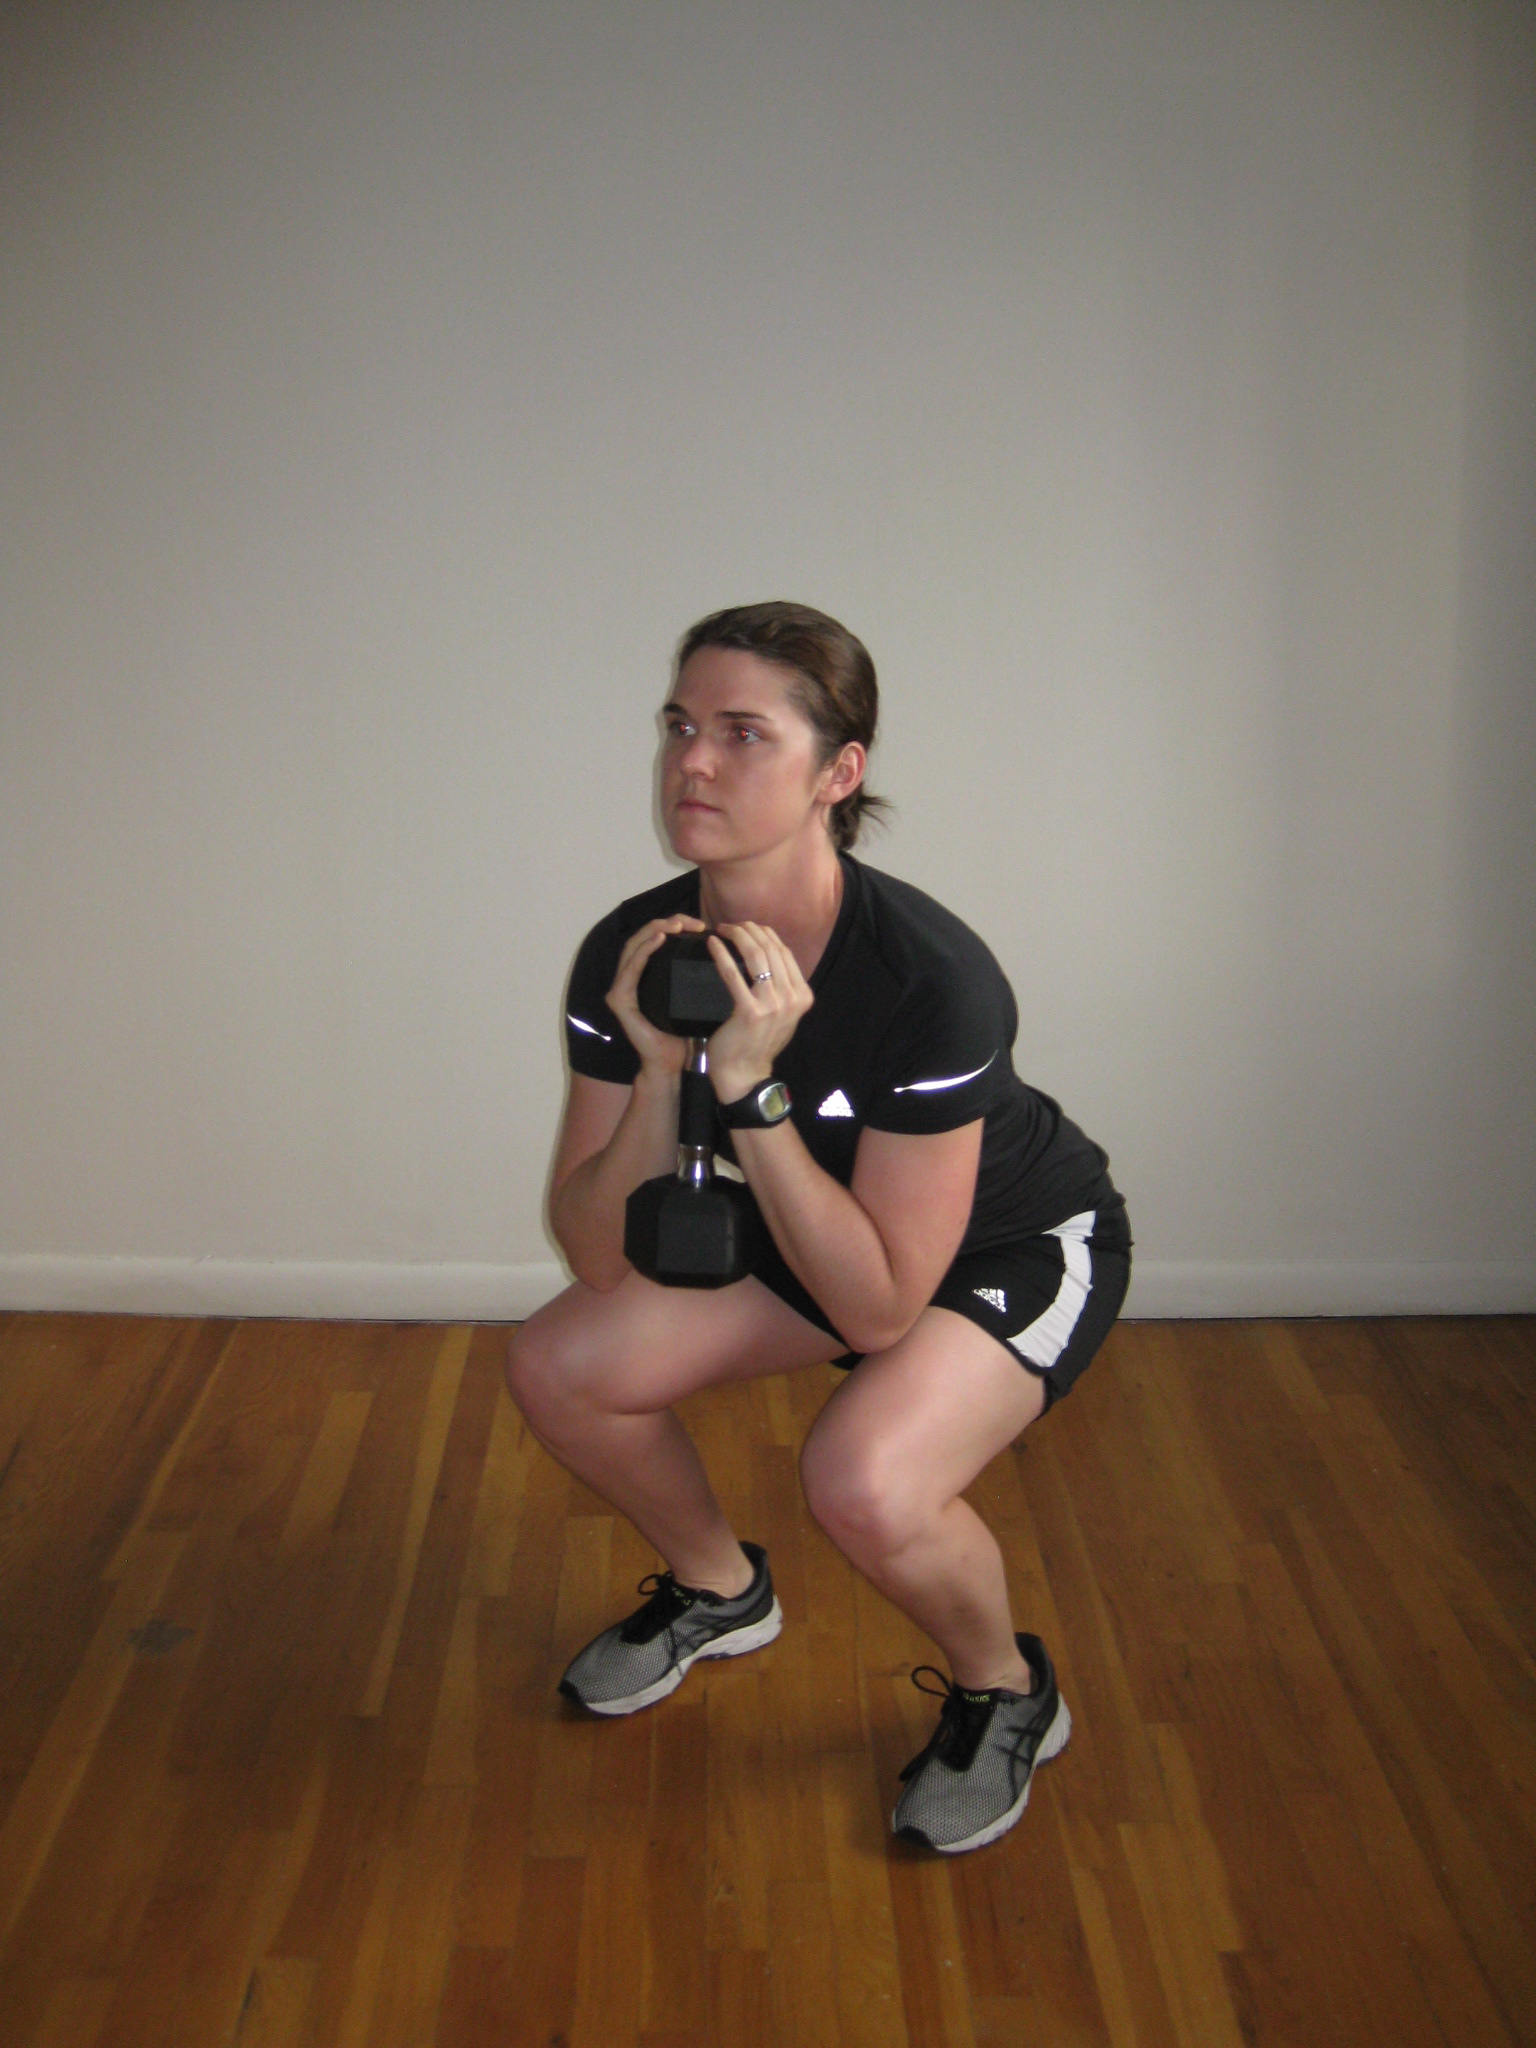 – Get a dumbbell, weight plate or kettlebell and hold it at chest height, with your hands just underneath your chin. Stand with your feet shoulder width apart, push your hips back and squat like described above.
– Your elbows should be aimed directly inside your knee.
– Remember to keep your torso upright, do not let your back round. Keep your knees tracking over your toes, instead of collapsing inward.
Ready for the Next Level? If you’re new to this exercise, I would advise to stay on this level for at least 4 weeks to learn the exercise. Progress by adding weight, until you feel strong and confident doing 3-4 sets of 10 reps.
LEVEL THREE: OFFSET SQUAT
Holding a dumbbell, kettlebell or sandbag on one shoulder is the next step up. Having this uneven load forces your core and hips to work harder to stabilize throughout the range of motion. I love doing this movement with a sandbag – it’s really challenging!
The Movement
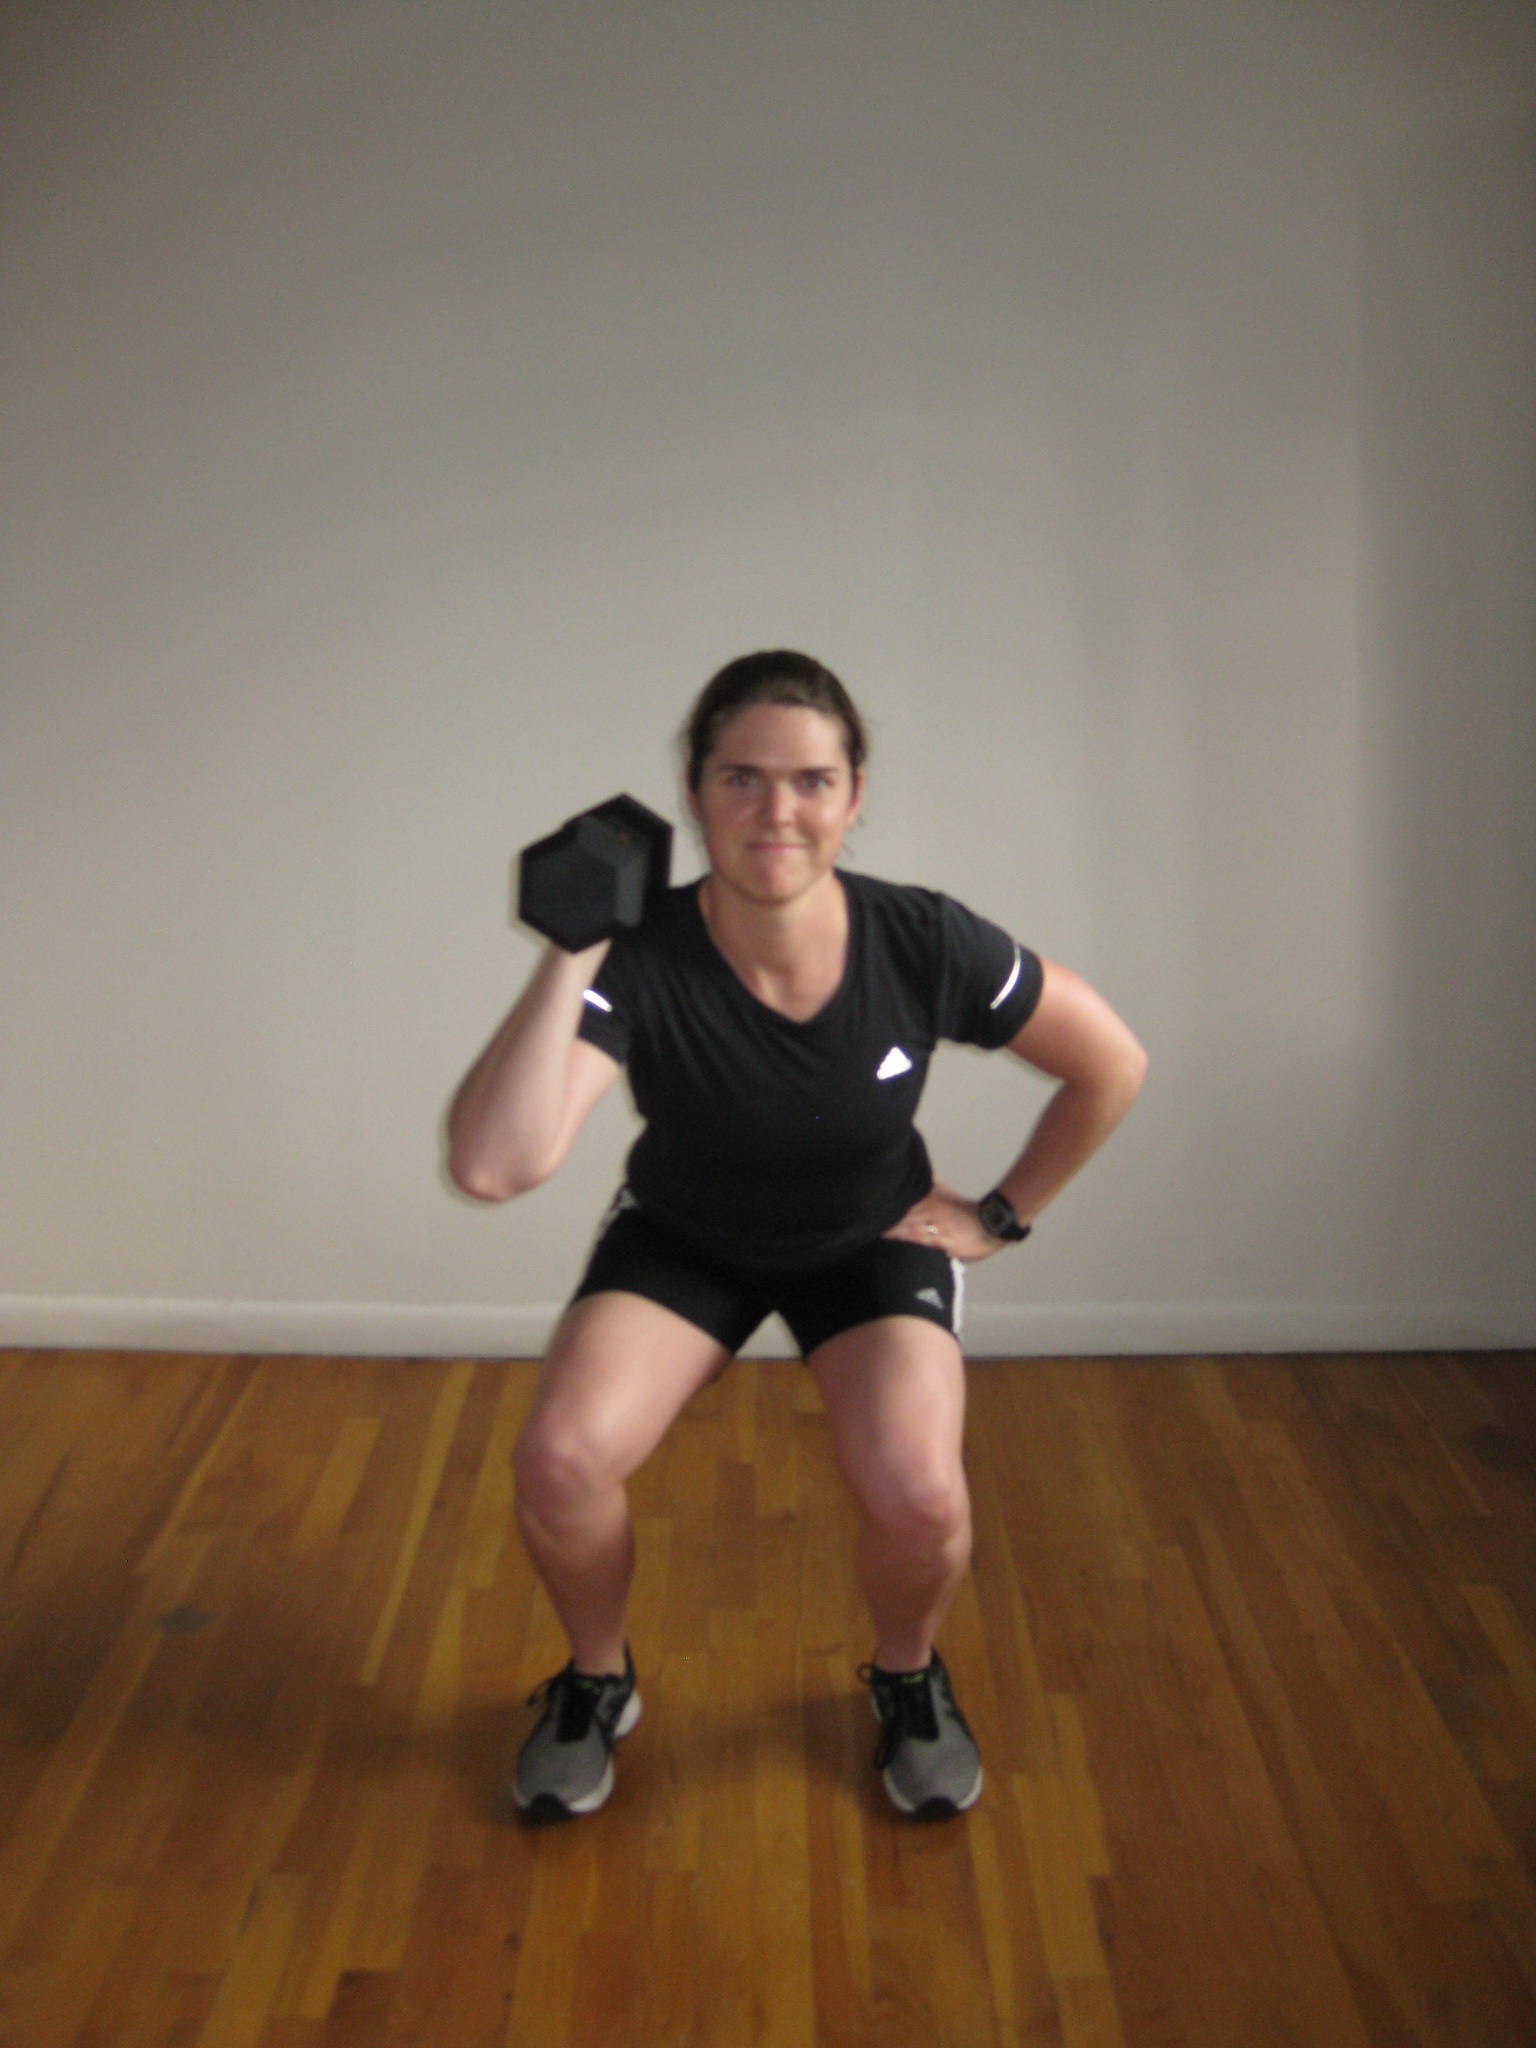
– Pick up a single dumbbell and hold it shoulder height on your right side, keeping your elbow tucked in.
– You should feel your left side contract to keep you standing upright.
– Stand with your feet shoulder width apart, push your hips back and descend into a squat as described above.
– Remember to keep your chest up!
Ready for the Next Level? Again if you’re new to this exercise, I would advise to stay on this level for at least 4 weeks to learn the exercise. Progress by adding weight, until you feel strong and confident doing 3-4 sets of 10 reps.
STAGE FOUR: OVERHEAD SQUAT
The single best exercise ever in my opinion! This movement adds significant challenge to your core and shoulder, making it a total body calorie blaster. If you have never done this before, try doing bodyweight only or with a broomstick first to get a feel for the motion. Then you can progress to use a barbell.
The Movement
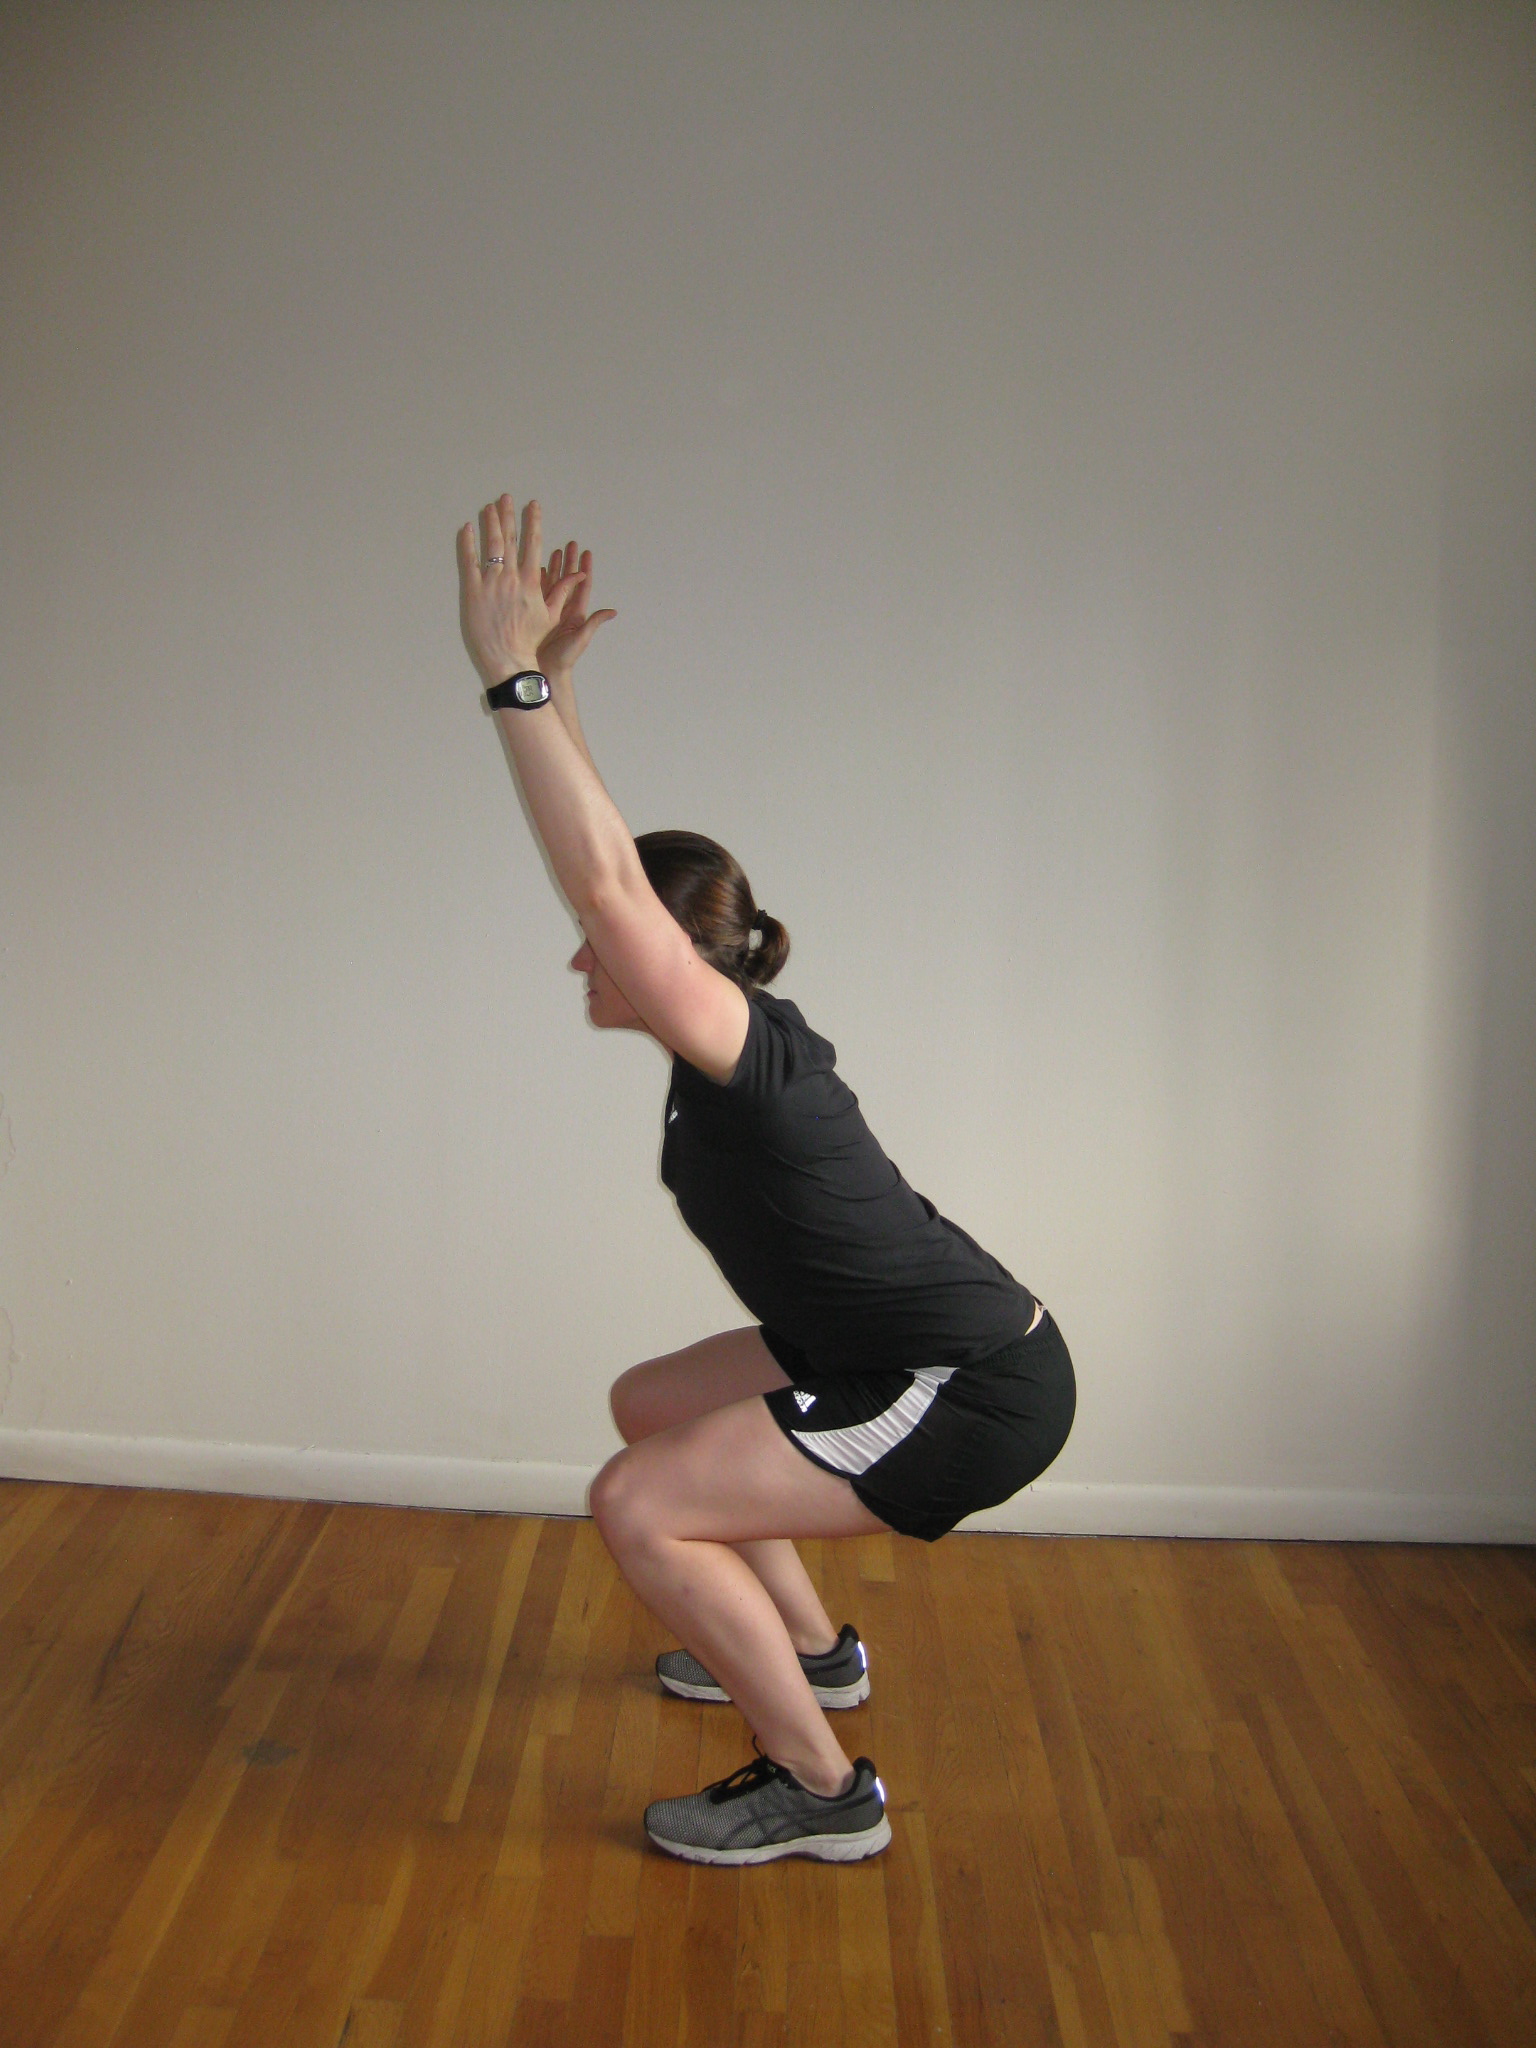
– Start with your arms up overhead, palms facing in (hold a barbell if you are advanced).
– Stand with feet shoulder width apart.
– Engage your core and push your hips back, descending into a squat as described above.
– Keep your torso upright throughout the movement and don’t let your back round.
And BEYOND…
From here, the exercises get super creative – and super fun! Progressing through the different stages is important for increasing mobility in your hips and ankles, before adding resistance. This paves the way for an overall, more effective and efficient squat.
That’s why I suggest you AVOID heavy back squats until you progress through all these levels.
OK cool cats, did you find this post helpful? Let me know if you liked it in the comments box below the post…
Happy squatting!
KV

6 Replies
Loved the profession of the squat
Thanks Stephanie! Happy to help 🙂
Great progressions of squat variations I’ve never seen before. And that’s saying alot! I subscribe to around a dozen fitness/nutrition sites. I love squats – you can do them anywhere, with or without weights. I can’t wait to try those I’m not familiar with (offset, overhead). Thanks, Kate. Looking forward to your next post!
Thank you Teri! That’s a huge compliment, and I really appreciate it. 😉
More awesomeness coming your way. Have a great day! KV
Great article Kate on squatting. How about foam rolling your glutes to get a better range of motion for your squats
Hey Dave! Yes great point 🙂 Surprisingly, foam rolling your calves can help too. Keep on rocking it